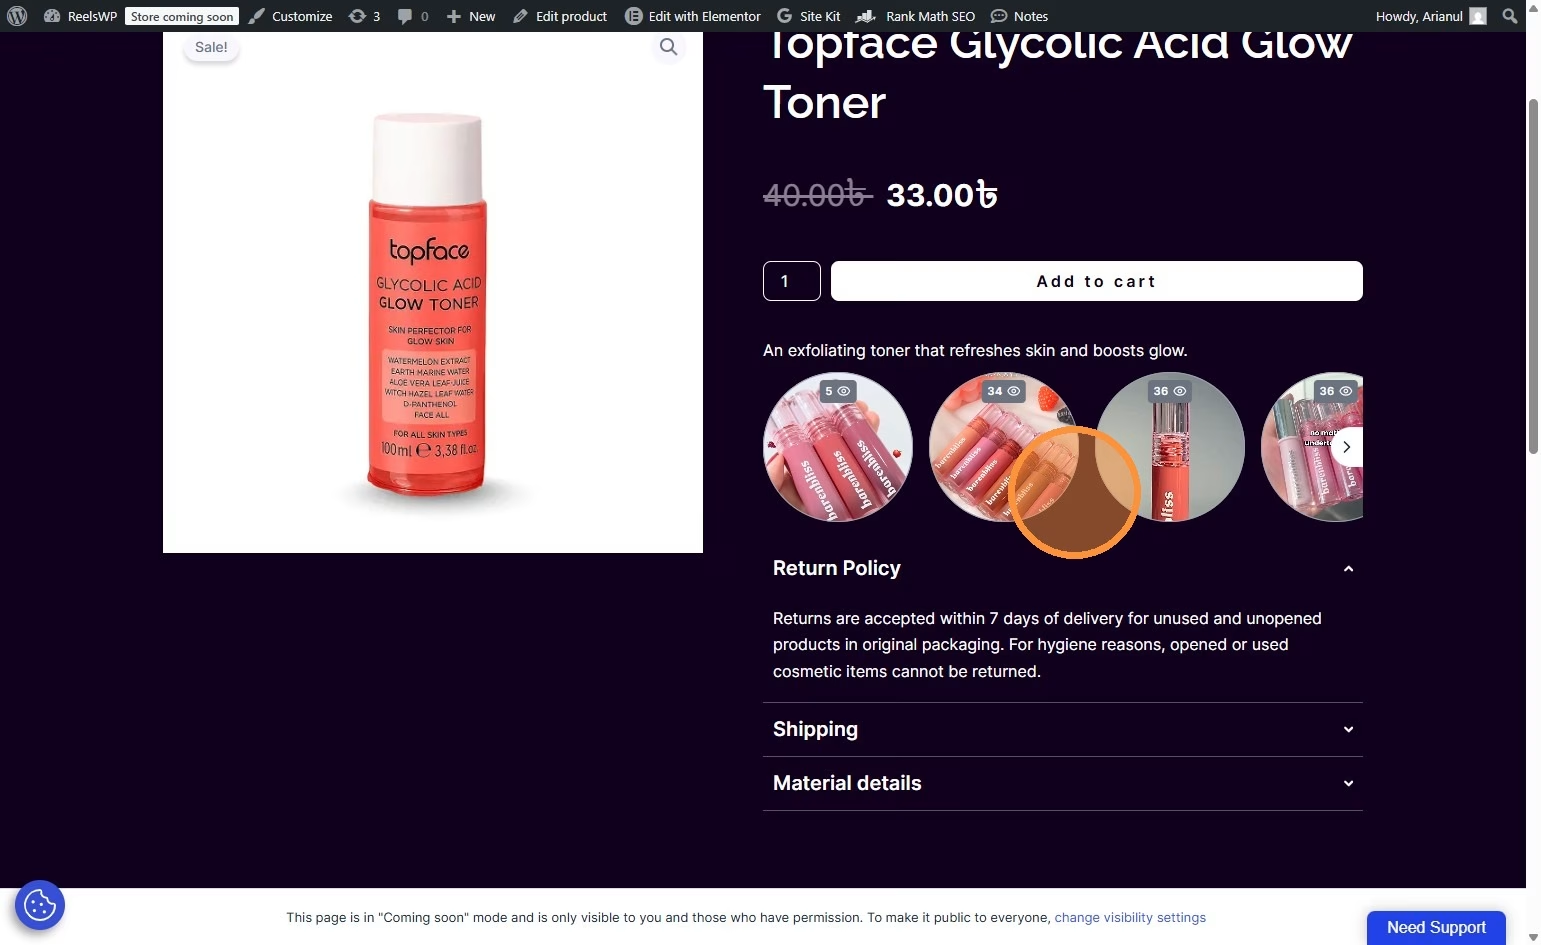
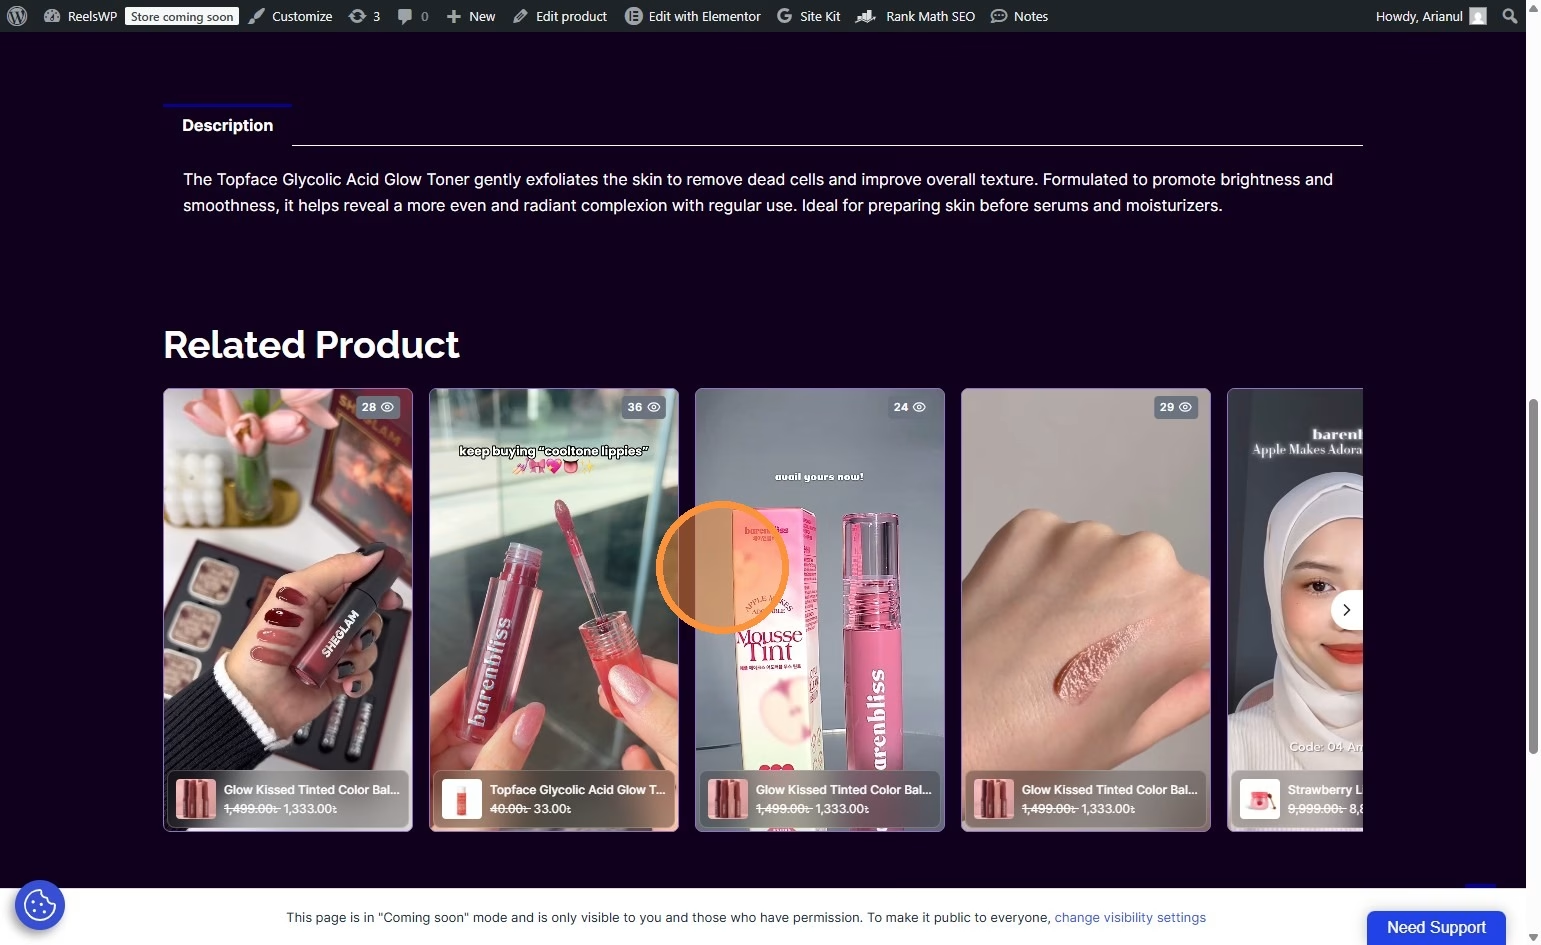
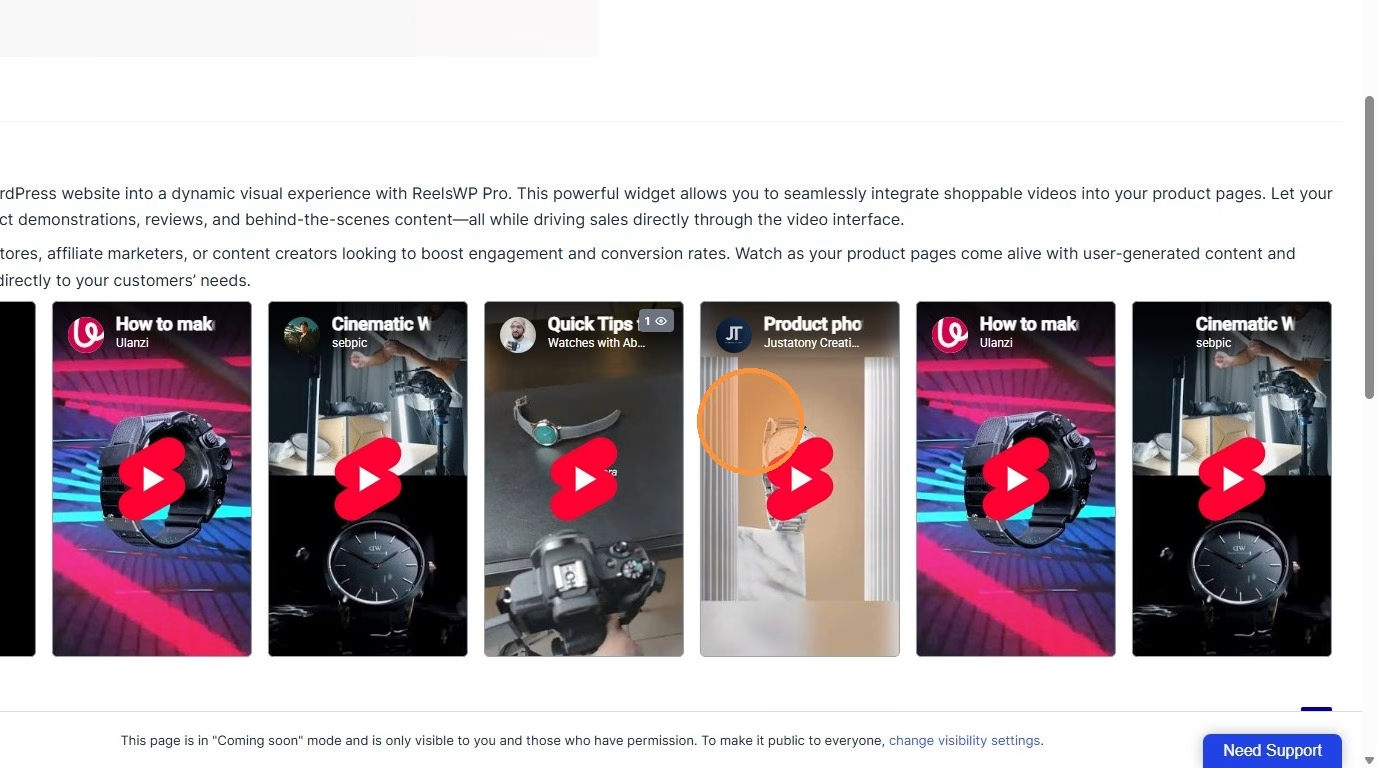
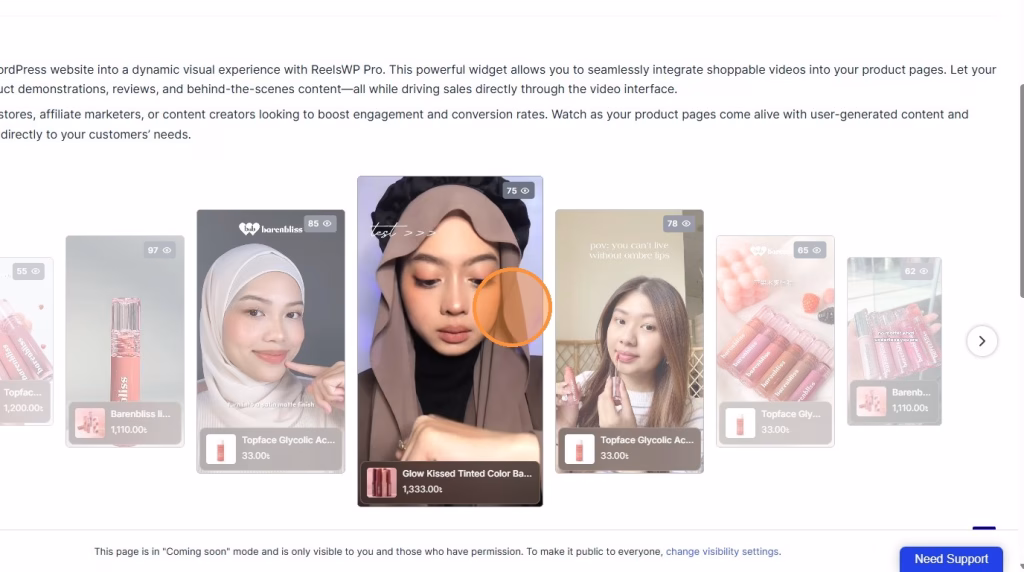
A Stacked Slider is an interactive layered slider layout that displays content, images, or videos in stacked cards to create a modern and engaging browsing experience. This guide walks you through the exact steps to create the slides, customize the stacked layout, and publish the slider on your website.
Before you start
- You need the ReelsWP and ReelsWP Pro plugin installed and activated on your website.
- You can find detailed installation instructions in our dedicated installation blog post.
- Install the plugin and click Activate once the installation is complete.
Step 1: Open ReelsWP in your WordPress dashboard
- Log in to WordPress admin.
- From the left menu, click ReelsWP.
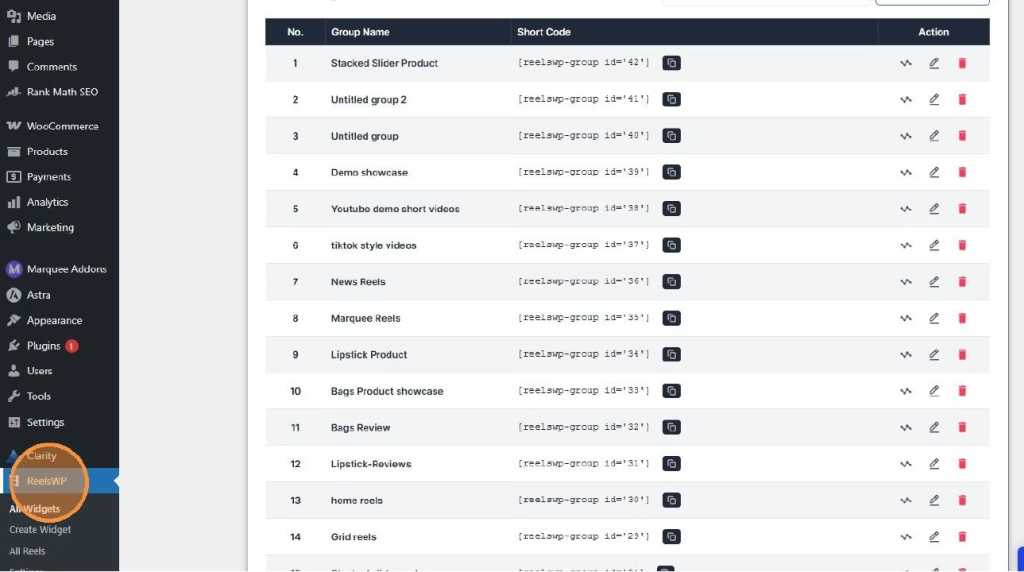
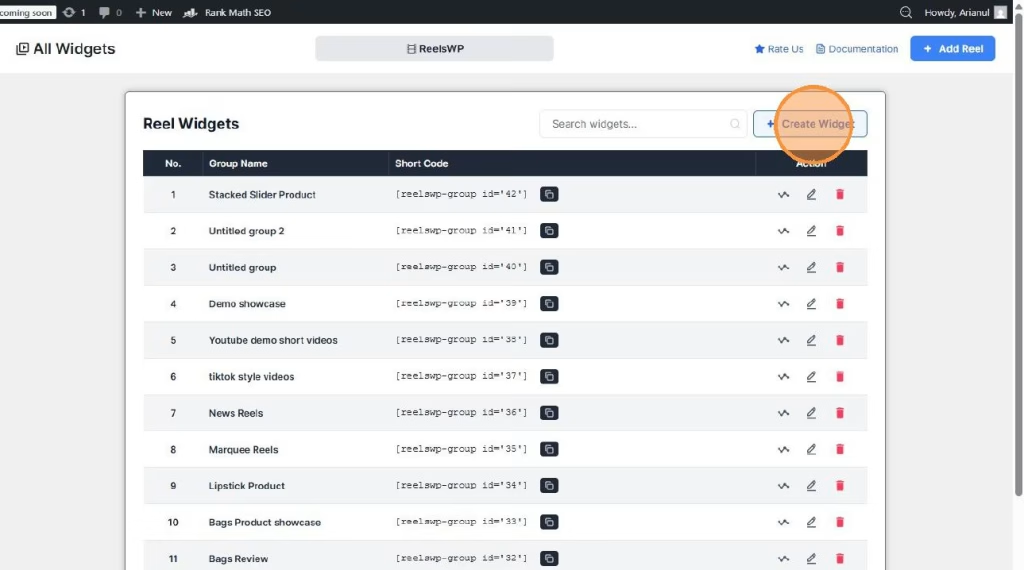
Step 2: Create a new widget (your marquee group)
- Inside ReelsWP, click Create Widget.
- You will be taken to the widget management screen.
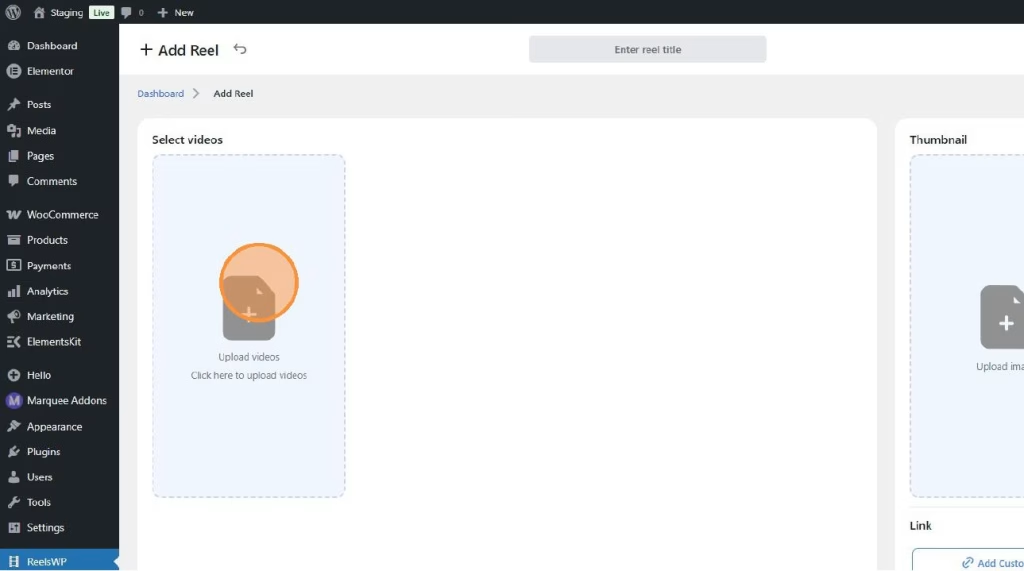
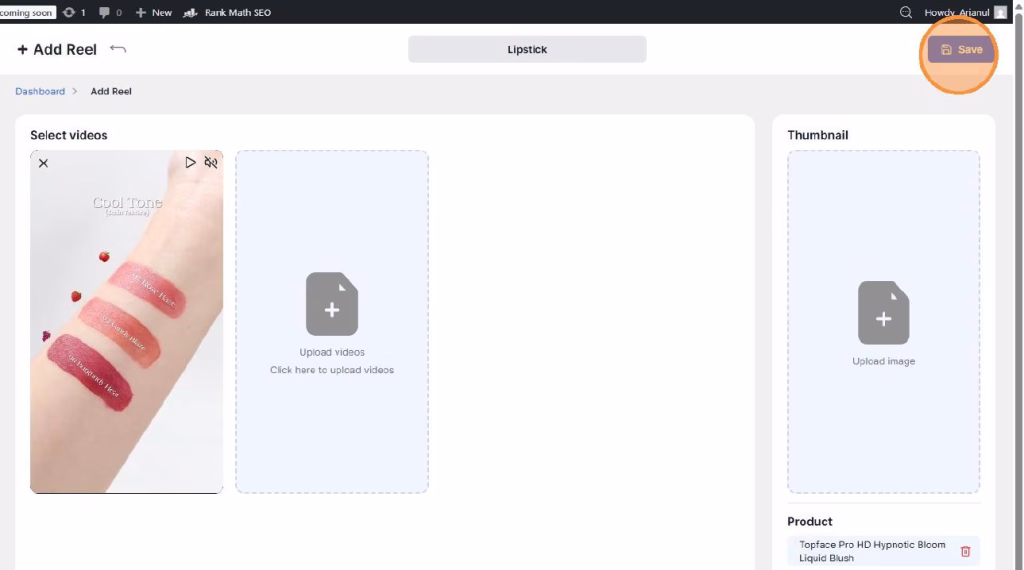
Step 3: Add a new reel video
- Click Add Reel.
- In the reel editor, click the Enter reel title field and give your reel a clear name (example: “New Arrivals Reel”).
- Upload/select your reel video in the Select videos area.
- (Optional but recommended) Upload a Thumbnail image so it looks clean before play.
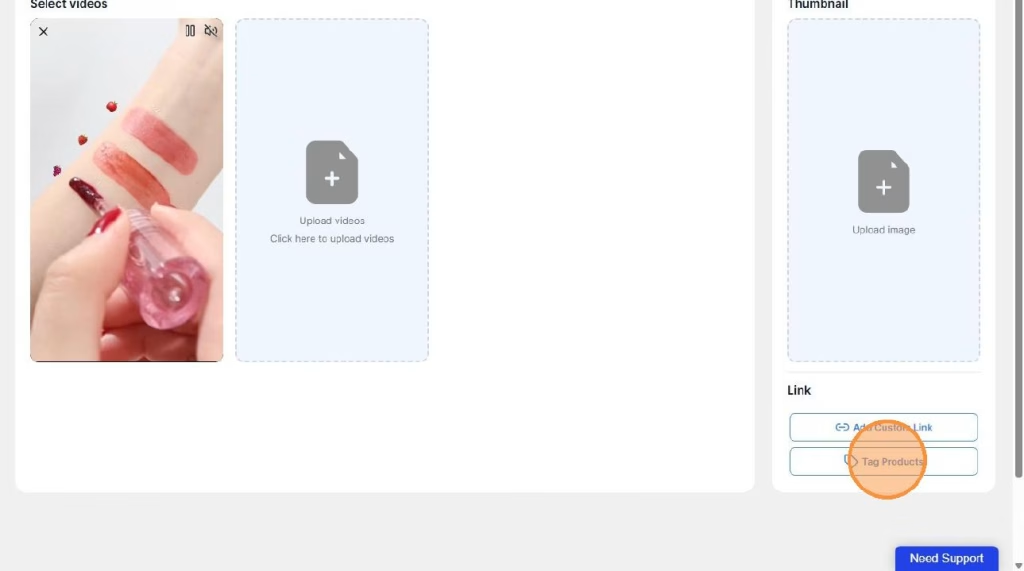
Step 4: Make it “shoppable” by tagging products
- Click Tag Products.
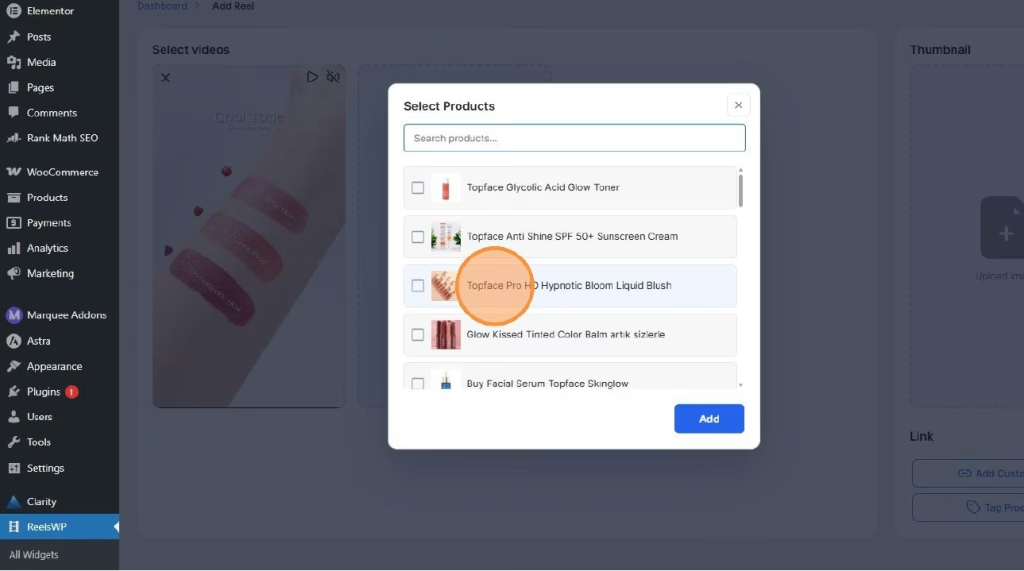
- Search and select the product(s) you want to attach to this reel.
- Click Add to confirm your selection.
Step 5: Save the reel
- Click Save to store the reel with its product tags.
Step 6: Attach reels to your widget (marquee group)
- Go back to your widget management screen.
- Find the reel you created in the “All reels” list.
- Click Click to add this reel to attach it to the widget.
- Repeat for more reels until your marquee has enough items to scroll nicely.
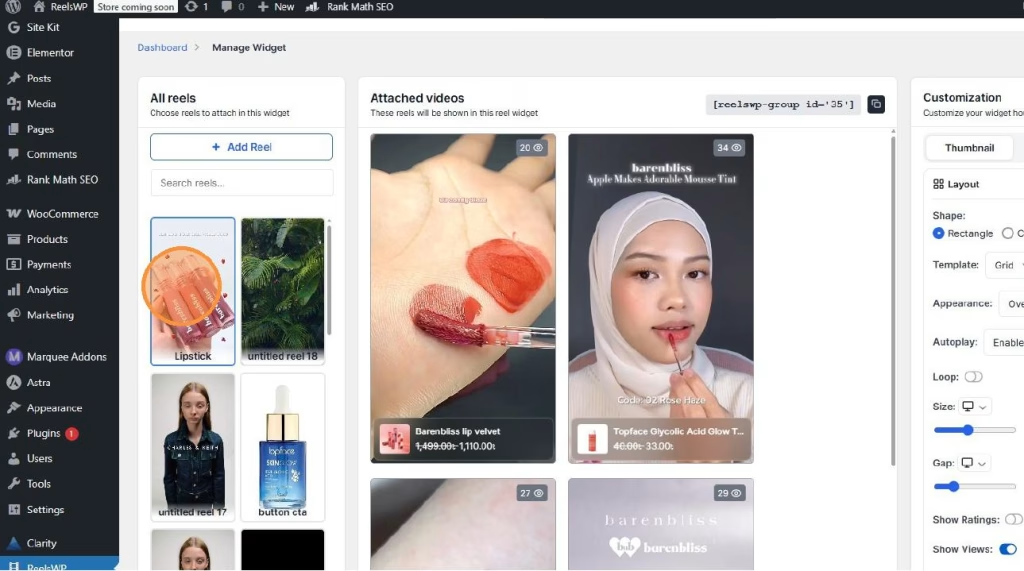
Step 7: Set the layout to Stacked Slider and adjust settings
- In the widget settings panel, choose Stacked as the layout/template.
- Adjust the look based on what you want, for example:
- Shape (rectangle/circle)
- Autoplay
- Loop
- Size
- Gap/spacing
- Show ratings, views, or other display toggles (if available in your setup)

Step 8: Save the widget
- Click Save again to store the widget layout and customization.
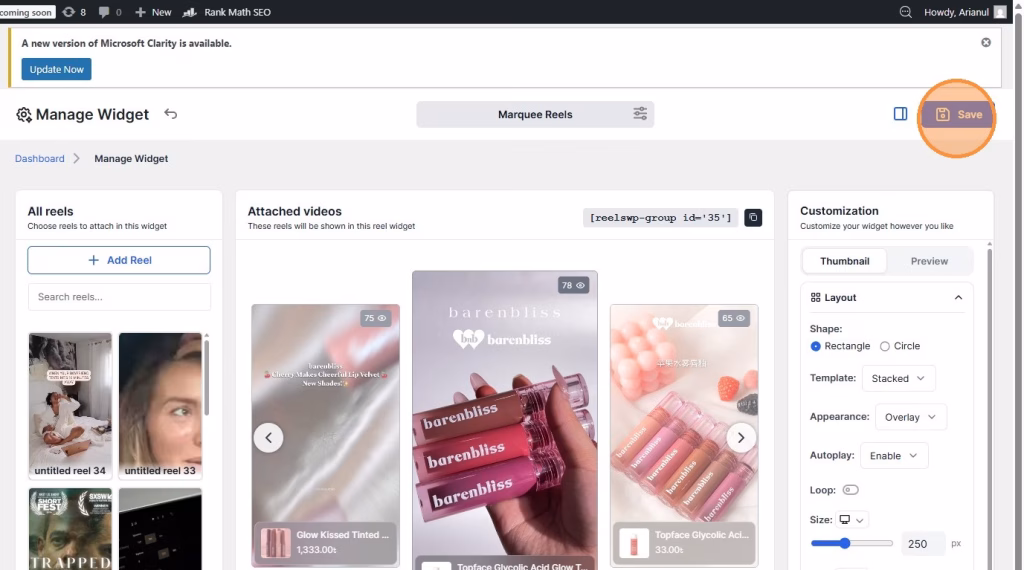
- Copy the short code
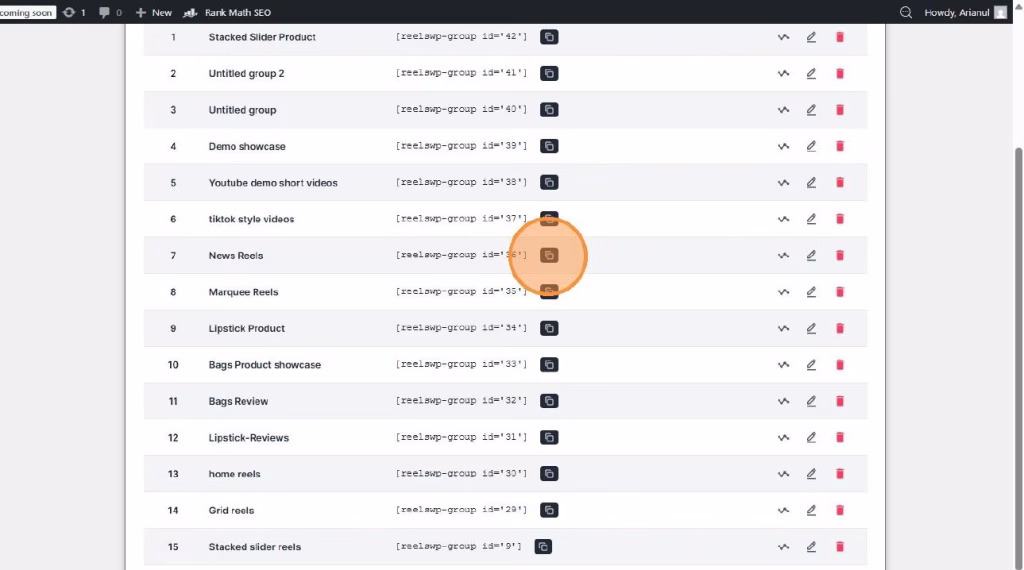
Step 9: Add the ReelsWP widget to your page
- Open the page where you want to show the marquee.
- Paste te short code of the ReelsWP widget into your design.
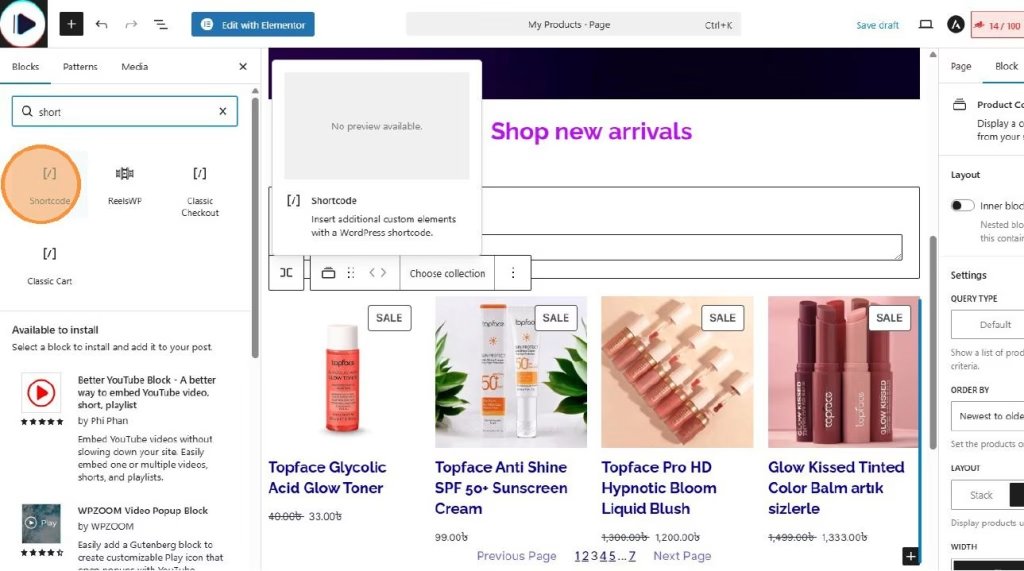
- or drag and drop the ReelsWP widget into your design
- From the widget dropdown, select your created group (example: “Marquee Reels”).
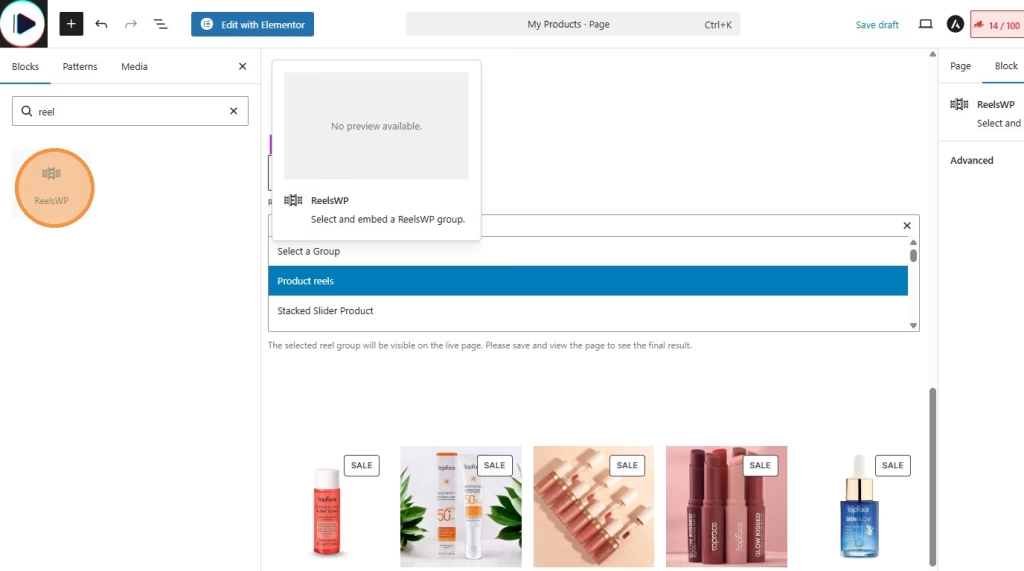
You can also use reelsWP block for block editor (for block themes) or using Elementor (ReelsWP elementor widget).
Step 10: Publish and preview
- Click Publish (or Update) on the page.
- Preview the page to confirm:
- The marquee scrolls smoothly
- Reels play properly
- Product tags open the right product when clicked
FAQs
1) Can I use a Stacked Slider without WooCommerce?
Yes. You can still show reels as a Stacked Slider. Product tagging is mainly for stores. If you are not using WooCommerce, you can use custom links (if your setup shows an “Add Custom Link” option) to send people to any page.
2) How many reels should I add to make the Stacked Slider look good?
A good starting point is 6 to 10 reels. Too few reels can make the scrolling feel repetitive.
3) Why is my Stacked Slider not sliding properly?
Usually it happens when:
- Autoplay or navigation settings are disabled
- Only one slide is added
- The slider height or width is not configured correctly
4) Can I customize the spacing and size of the stacked slides?
Yes. You can adjust slide size, spacing, scaling, and alignment from the widget customization settings to match your design.
5) Where should I use a Stacked Slider on my website?
Popular sections include:
- Homepage hero sections
- Portfolio showcases
- Testimonials or reviews
- Featured products or services
- Landing pages for promotions or campaigns