Follow these simple steps to add self hosted reel videos to your WordPress website using the ReelsWP Plugin.
1. Install and Activate ReelsWP
- You need the ReelsWP and plugin installed and activated on your website.
- You can find detailed installation instructions in our dedicated installation blog post.
- Install the plugin and click Activate once the installation is complete.
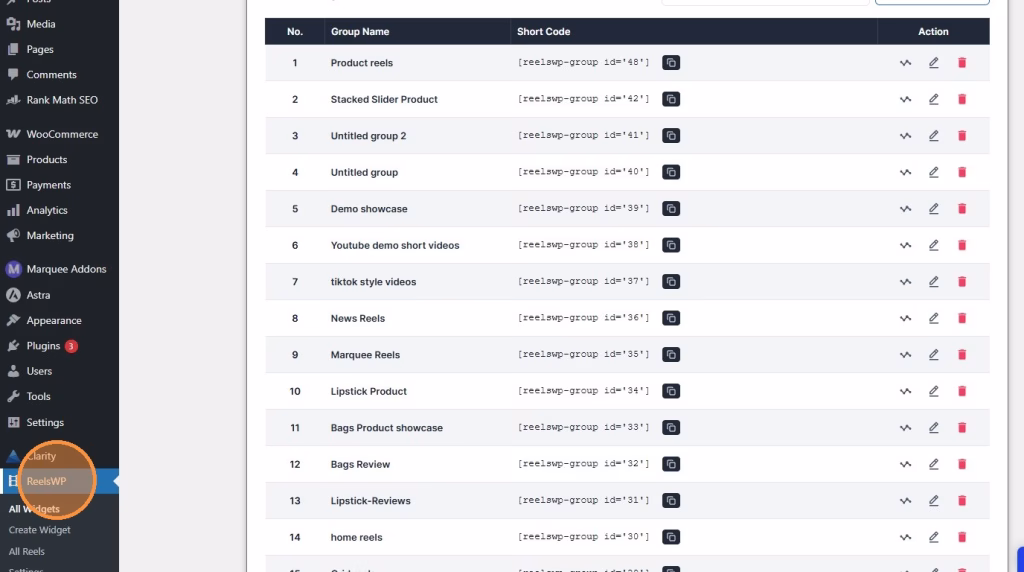
2. Go to ReelsWP Dashboard
Navigate to your WordPress admin dashboard. Under the sidebar menu, click on ReelsWP to access the plugin dashboard.
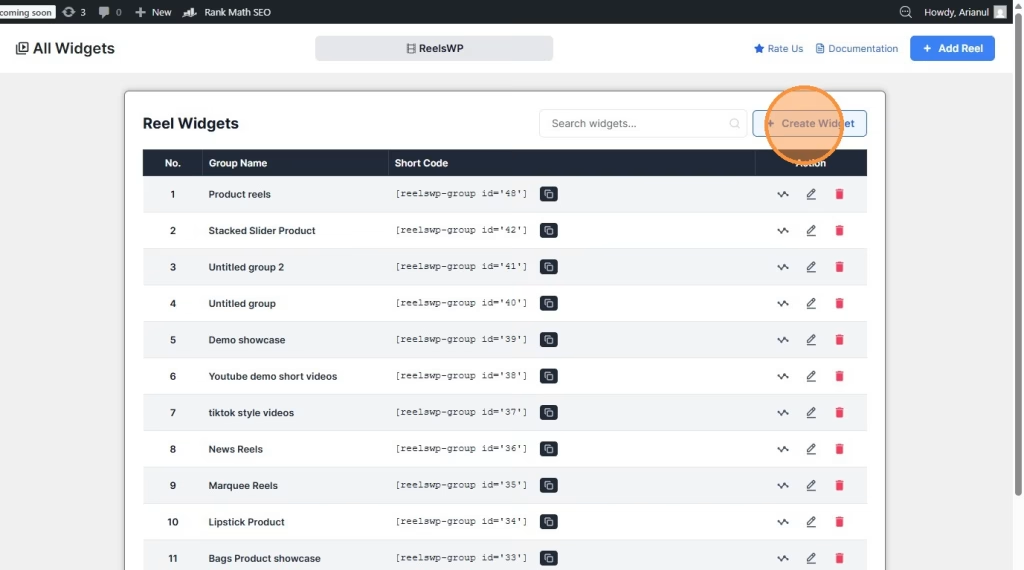
3. Click “Create Widget”
Once you’re in the ReelsWP dashboard, click on the Create Widget button. This will allow you to create a new custom video widget where you can add your self hosted videos.
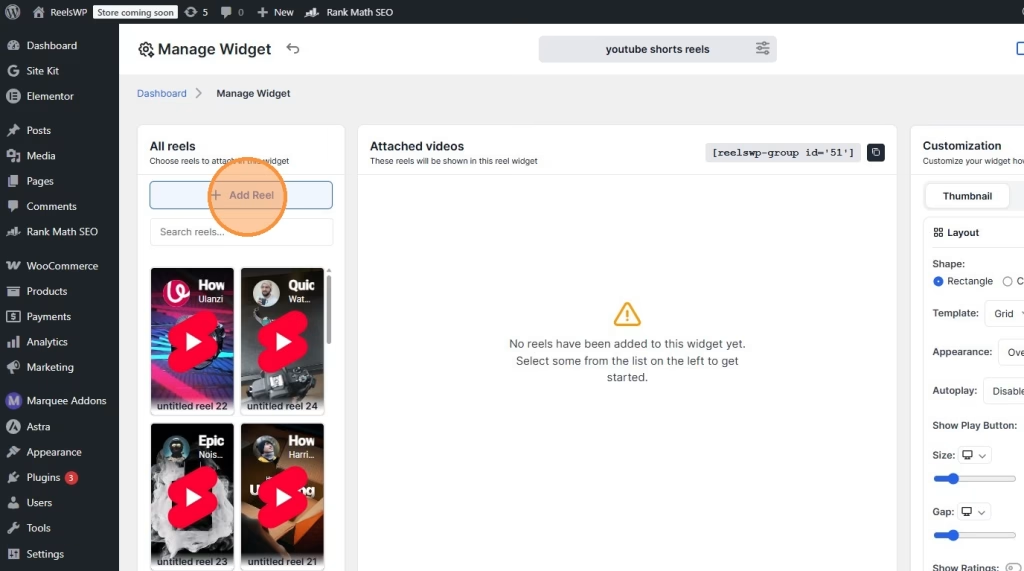
4. Click “Add Reel”
In the newly opened window, click on the Add Reel button to begin adding your first video to the widget or if you have prebuild reels you can just select them from the All reels section.
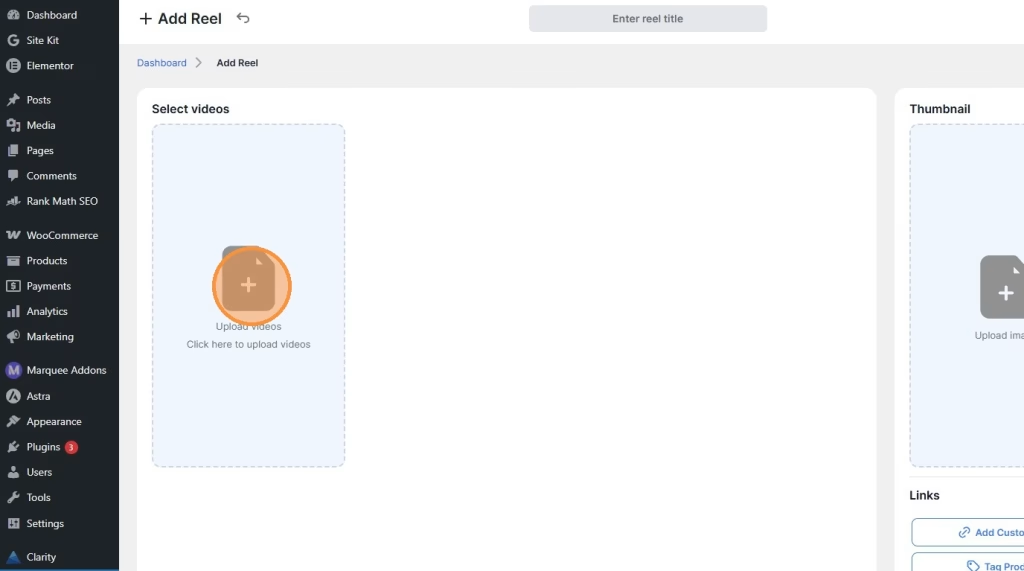
5. Click the Image Icon
Next, click the image icon within the “Select Videos” section to upload or choose videos for your widget.
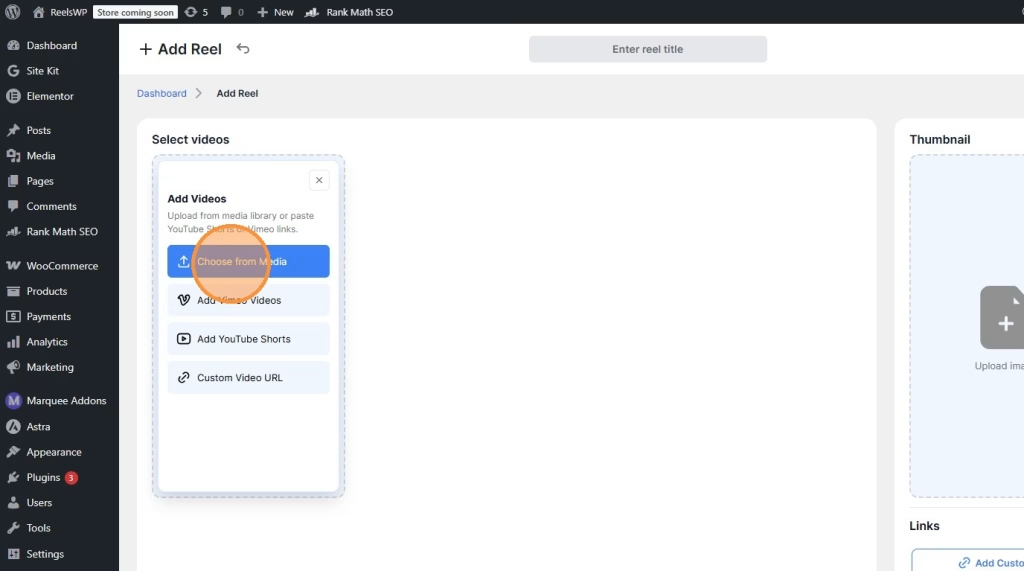
6. Click “Choose from Media”
You will see the option to add video. Click on Choose from media to add the self hostedmedia.
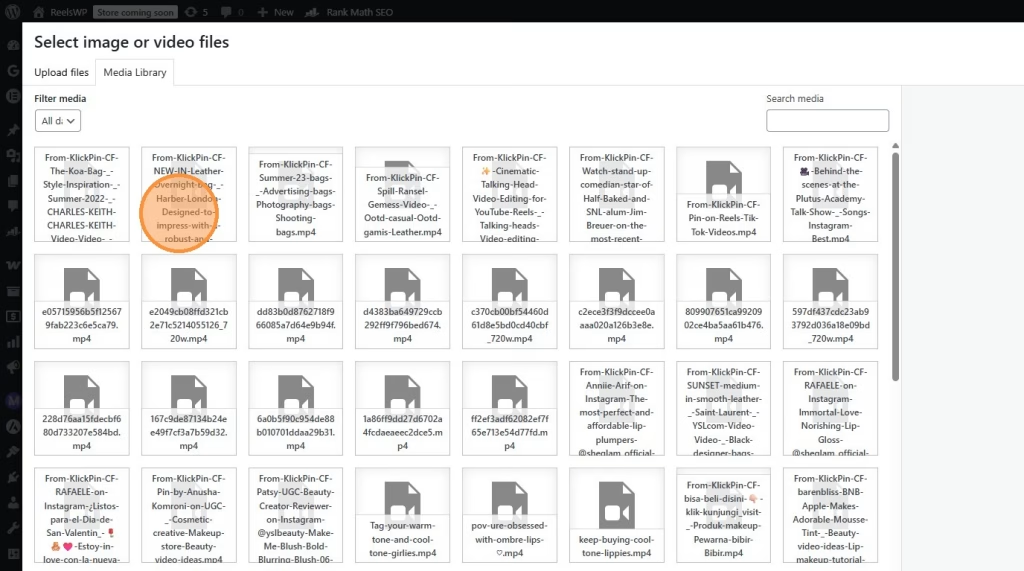
7. Select your self hosted video
Select or upload your self hosted video and continue.
8. Select the reels
After continuing, Select the reels to finalize the selection and add the video to your widget.
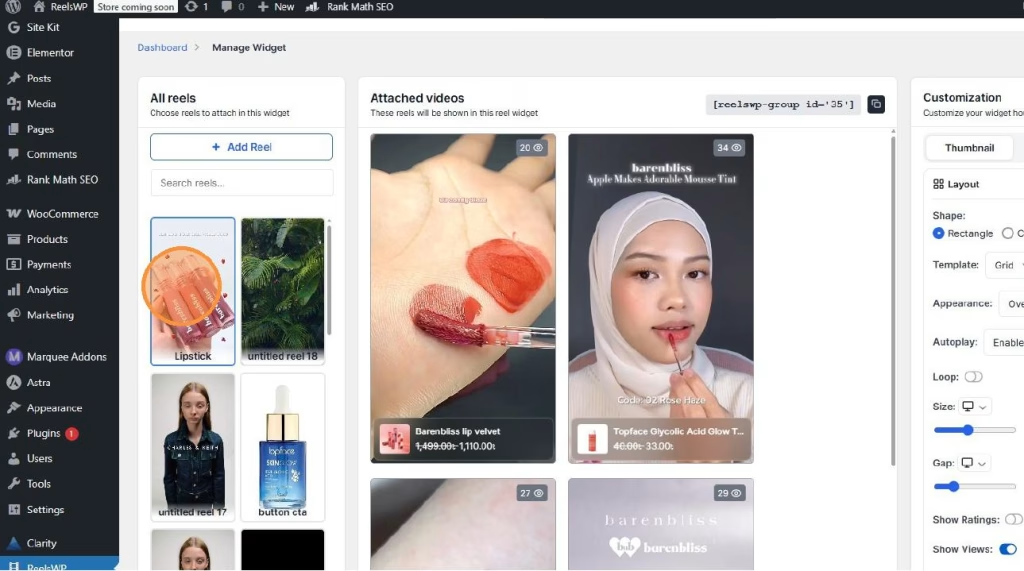
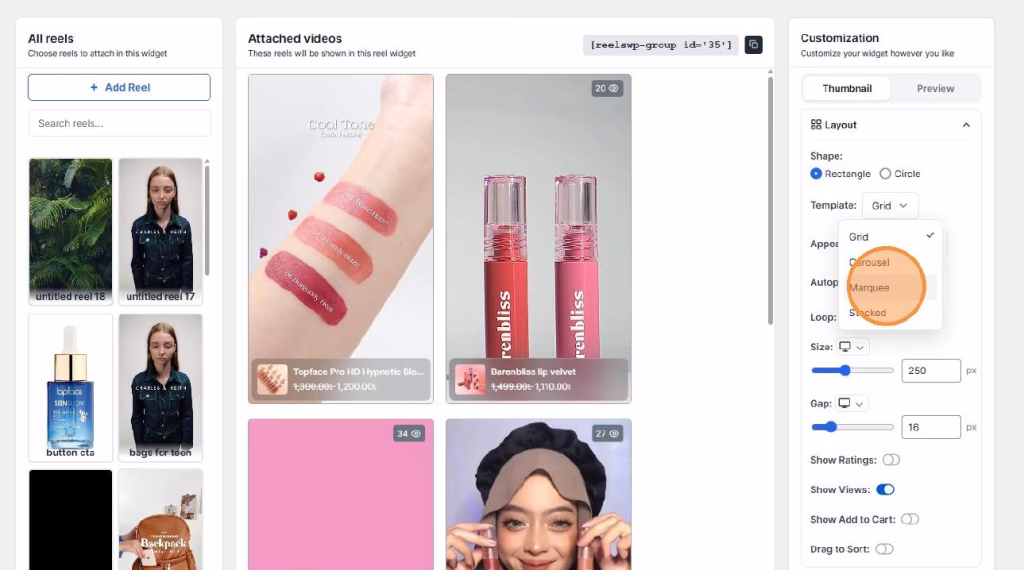
9. Edit Your Layout
Customize the layout of your widget to match your website’s design. You can adjust elements like the shape, grid, and appearance of the video thumbnails to fit your style.
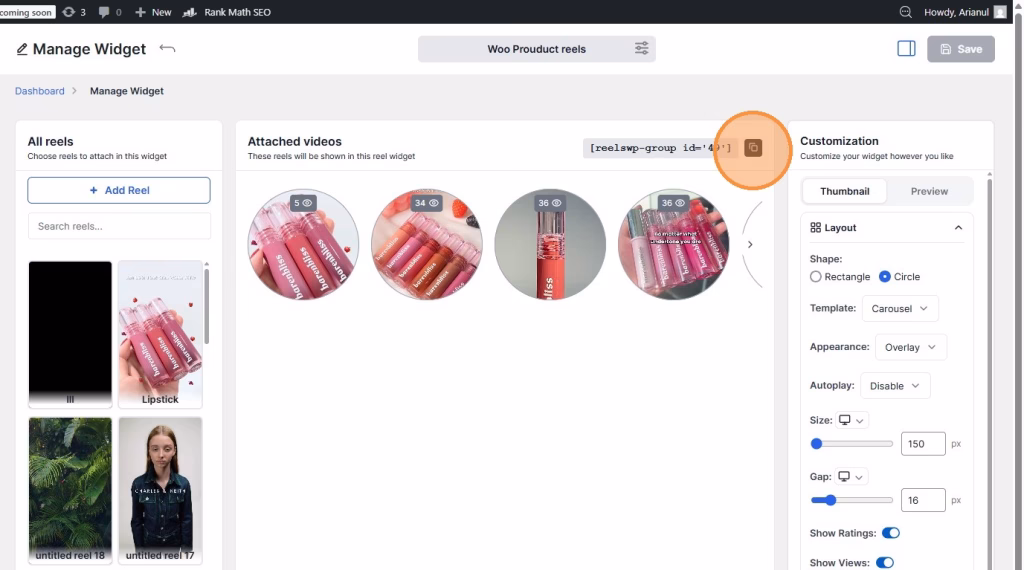
10. Copy the Shortcode
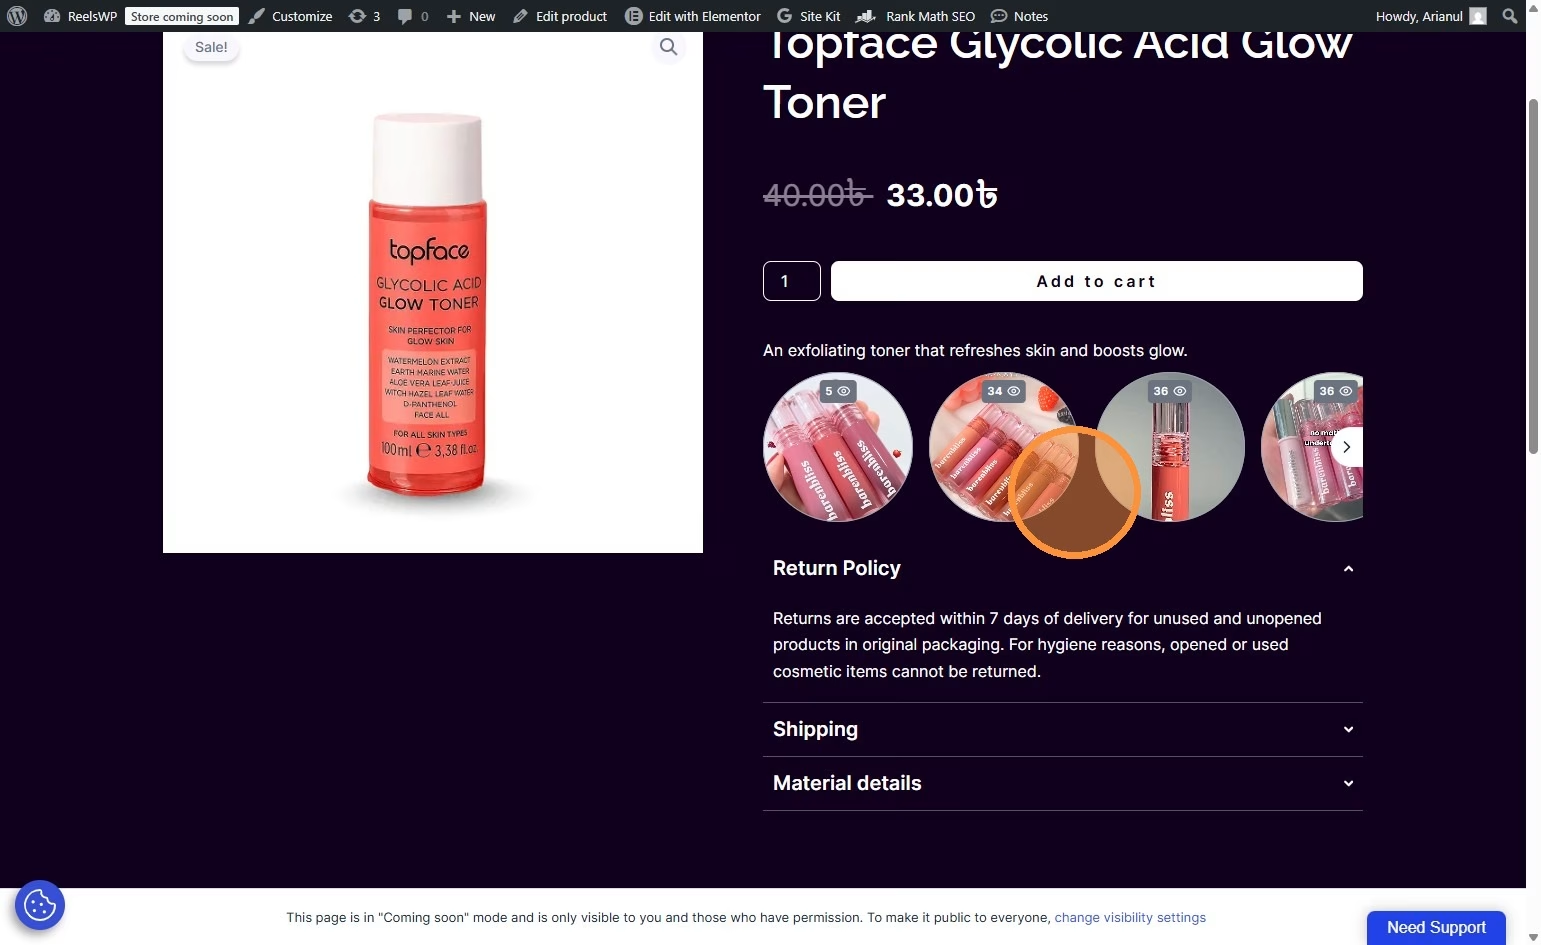
Once you have configured the widget, copy the shortcode displayed in the ReelsWP dashboard. This shortcode is used to display the widget on your product pages or posts or,
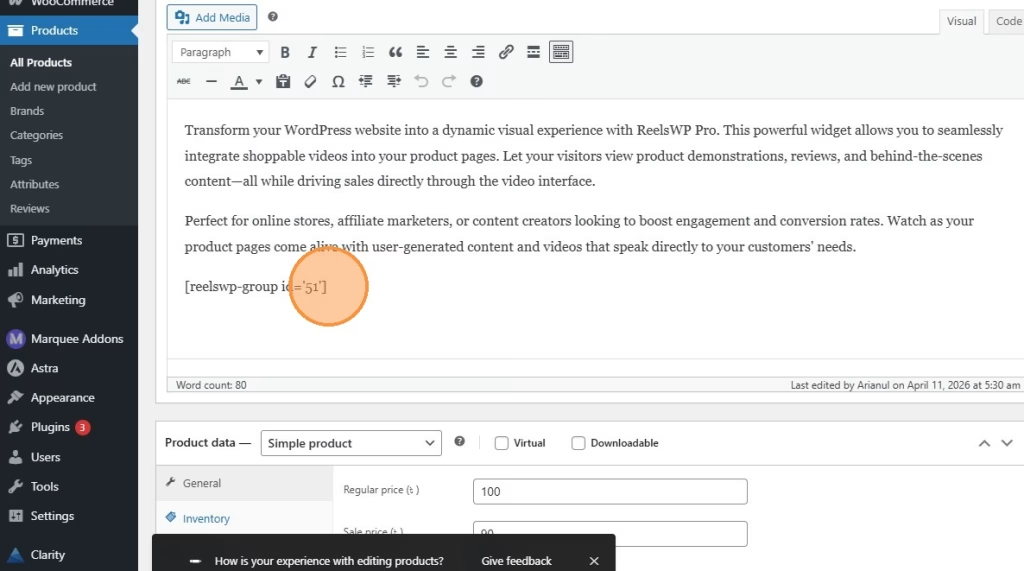
11. Paste the Shortcode to Your Content or Design
Paste the shortcode you copied into your desired content section on the WordPress page. You can also use the ReelsWP widget for Gutenberg editor and Elementor editor.
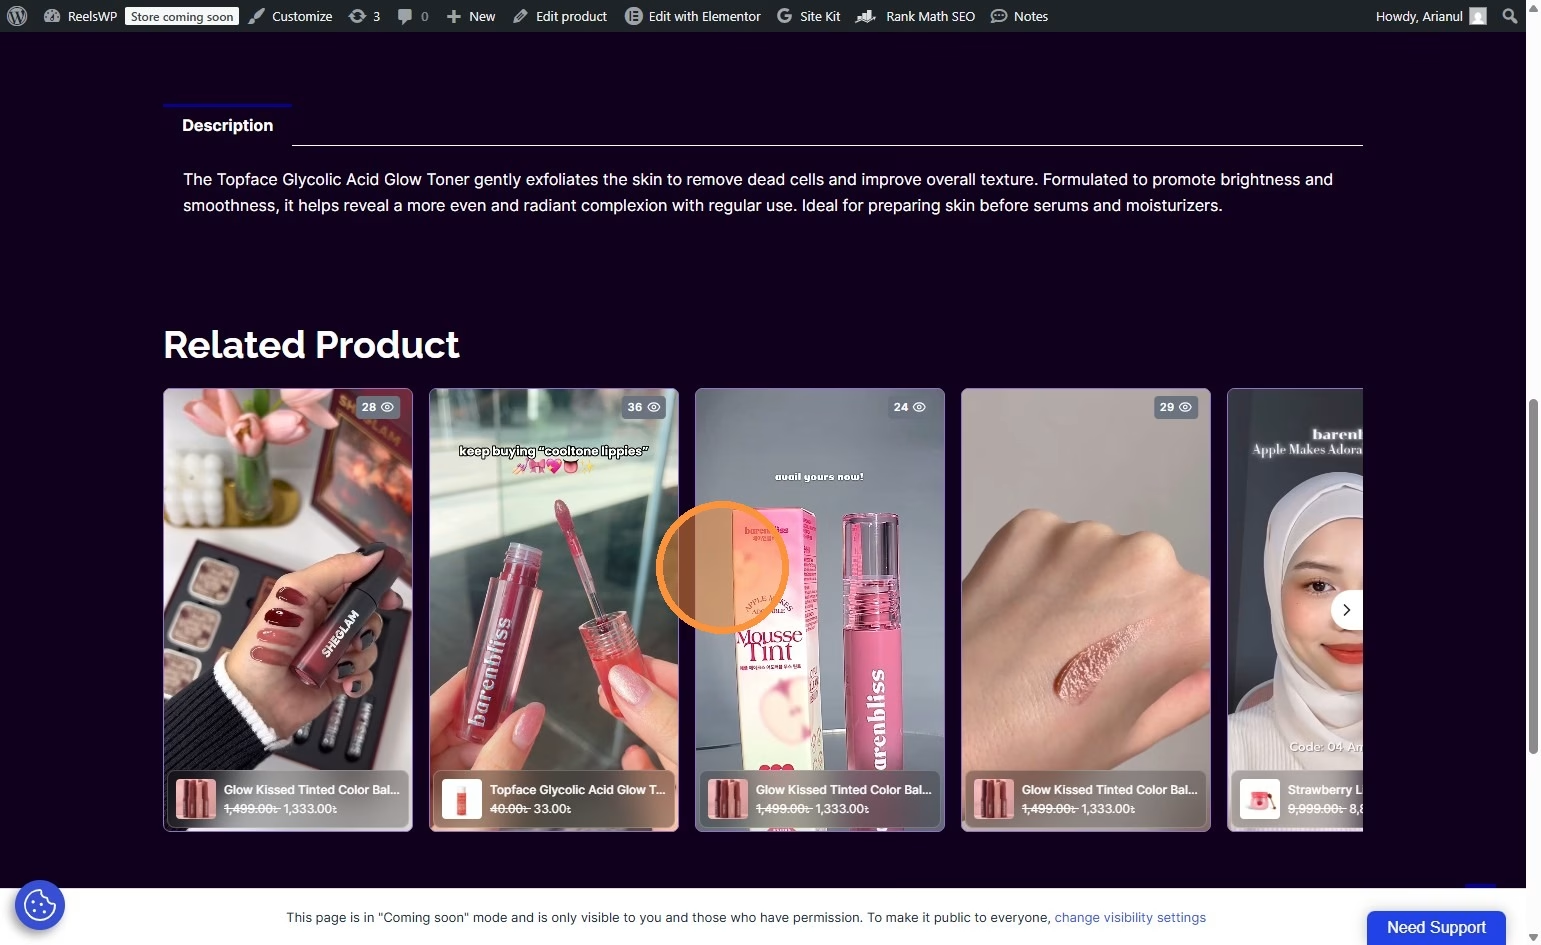
12. Preview the Design and Make Necessary Adjustments
After pasting the shortcode, preview the design to ensure everything looks good. Adjust the settings, if necessary, to ensure the videos are displayed as you like.
Watch the video guideline to add self hosted reel video in ReelsWP
Frequently Asked Questions (FAQ)
1. How do I add a self-hosted reel video to my WordPress site?
To add a self-hosted reel video, go to your WordPress dashboard, click Create Widget in the ReelsWP plugin, then select Add Reel. Choose Add Video and upload your self-hosted video. After uploading, adjust your settings and copy the provided shortcode to embed it in your page.
2. Can I upload videos from my local server or hosting?
Yes, ReelsWP allows you to upload videos directly from your server. Simply select Add Video in the widget creation process, then upload the video file from your local storage or server.
3. Can I control the layout of my self-hosted video widget?
Absolutely! Once your self-hosted video is added, you can customize the layout, size, and appearance using the ReelsWP settings to match your website’s design.
4. Is the self-hosted video compatible with page builders like Elementor or Gutenberg?
Yes, ReelsWP is fully compatible with both Elementor and Gutenberg. After generating the shortcode for your self-hosted video, you can embed it in your content using either of these page builders.
5. How can I manage and update self-hosted reel videos in ReelsWP?
You can easily manage your self-hosted reel videos from the ReelsWP dashboard. To update or delete a video, go to the widget settings and modify the attached videos as needed. You can also rearrange videos or replace them with new files directly from your dashboard.