This guide will walk you through the process of creating Instagram-style stories using ReelsWP on your WordPress site. By following these steps, you’ll have dynamic, scrollable stories that can boost engagement on your website.
Step 1: Install and Activate ReelsWP
- You need the ReelsWP plugin installed and activated on your website.
- You can find detailed installation instructions in our dedicated installation blog post.
- Install the plugin and click Activate once the installation is complete.
Step 2: Open the ReelsWP Plugin
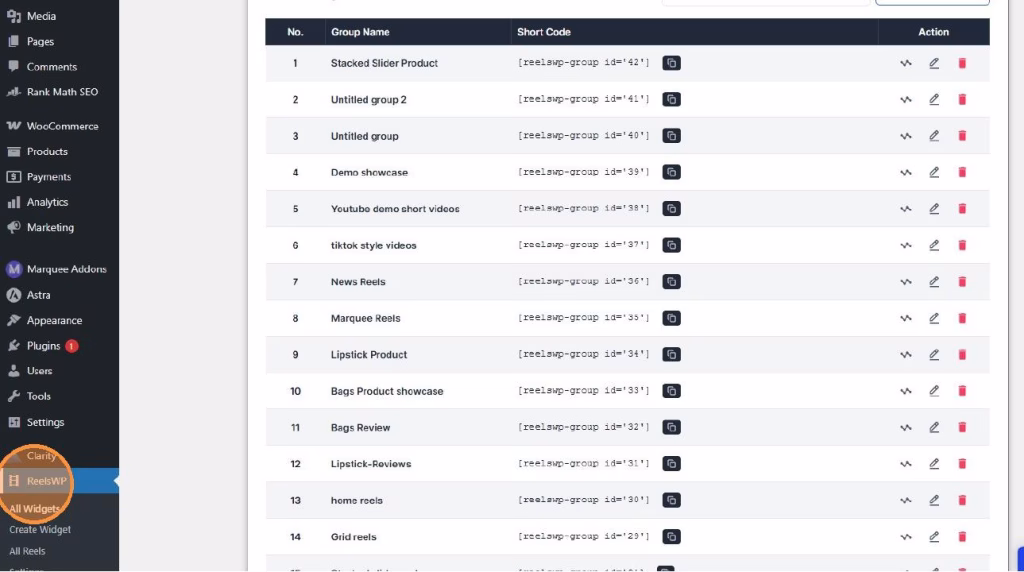
- In the WordPress admin dashboard, find the ReelsWP section on the left sidebar and click it to open.
Step 3: Create a New Widget
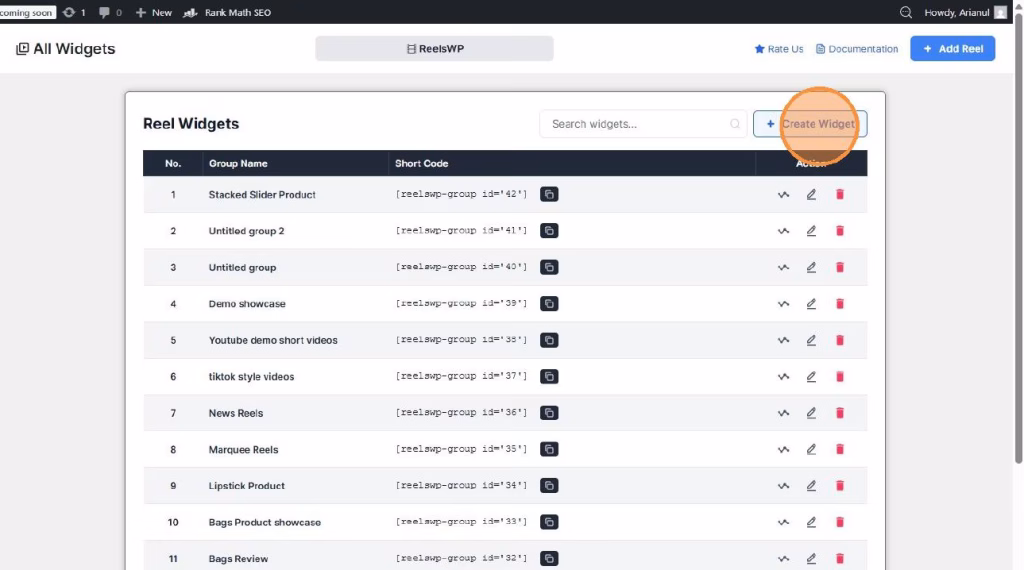
- On the ReelsWP dashboard, click Create Widget.
- This will take you to the widget management page where you can set up your widget.
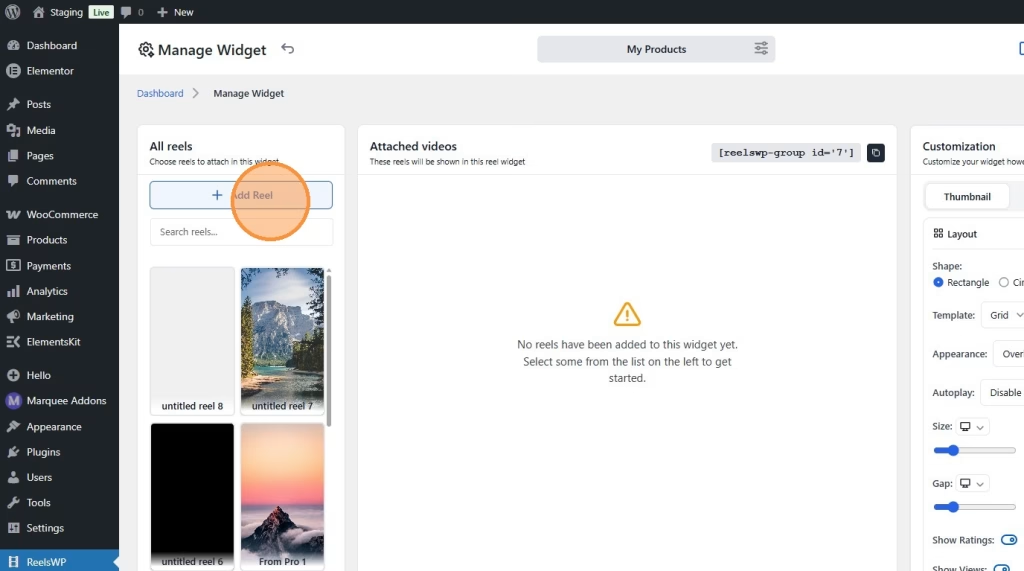
Step 4: Add Your First Reel
- On the Manage Widget page, click the Add Reel button.
- You will be directed to a page where you can upload videos.
- Upload your story videos and add any relevant titles or descriptions.
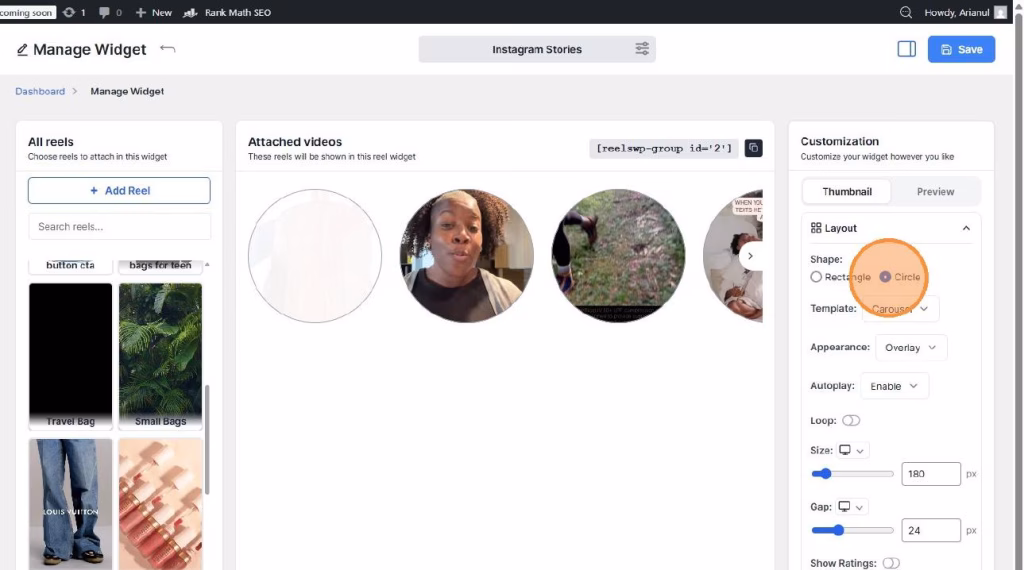
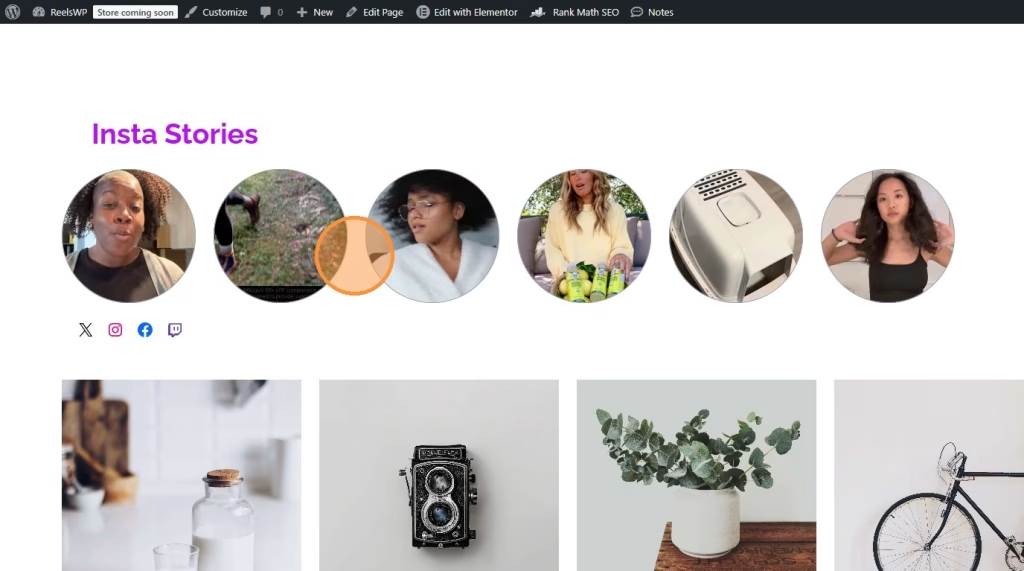
Step 5: Customize Your Story Layout
- Choose the Instagram Stories layout.
- You can customize several features:
- Thumbnail: Add a thumbnail for each story video.
- Shape: Set the shape of the story to be Circle.
- Template: Select the Carousel template to allow users to swipe through the stories.
- Autoplay: Enable autoplay for seamless viewing.
- Loop: Choose whether to loop the story videos after they finish.
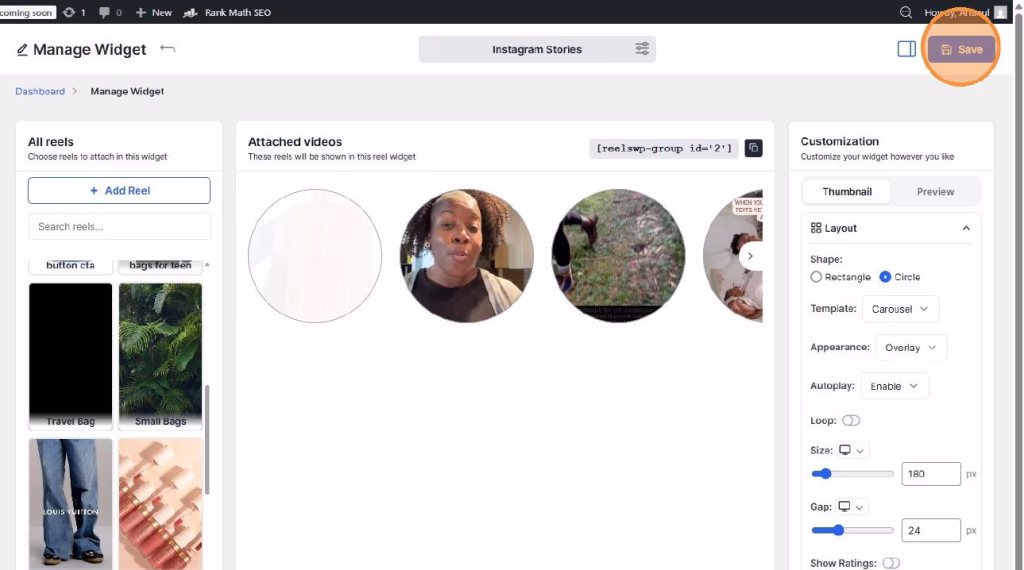
Step 6: Save Your Widget
- After customizing the layout and options, click the Save button to store your widget.
Step 7: Copy the Shortcode
- Once the widget is saved, you will be given a shortcode.
- Copy the shortcode for the widget.

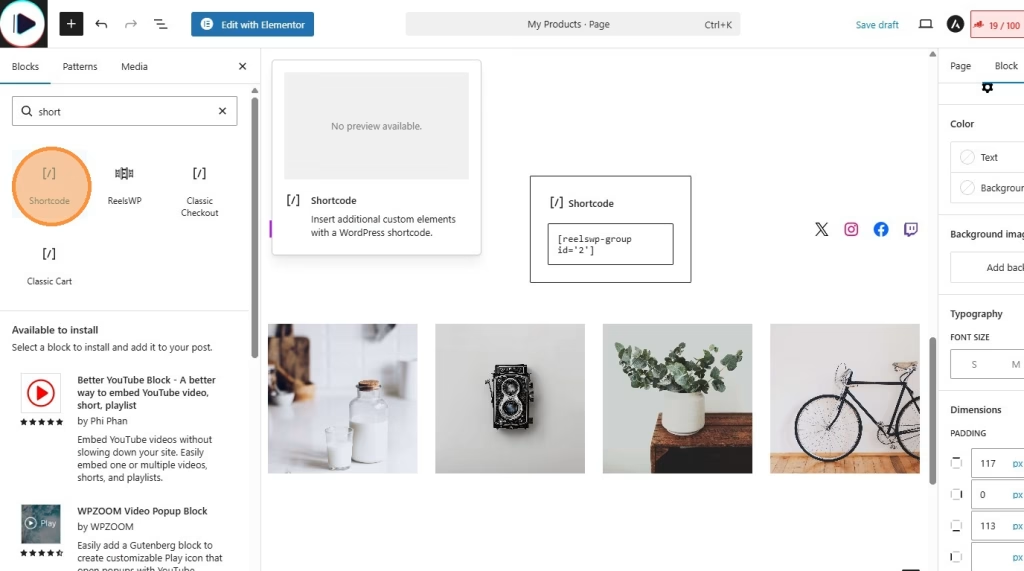
Step 8: Embed the Instagram-Style Stories on Your Site
- Go to the page or post where you want to display your Instagram-style stories.
- Paste the shortcode into the page’s content area or search for “ReelsWP” widget and select your reel group from dropdown menu.
- Publish or update the page to make the stories visible to your visitors.
You can also use reelsWP block for block editor (for block themes) or using Elementor (ReelsWP elementor widget).
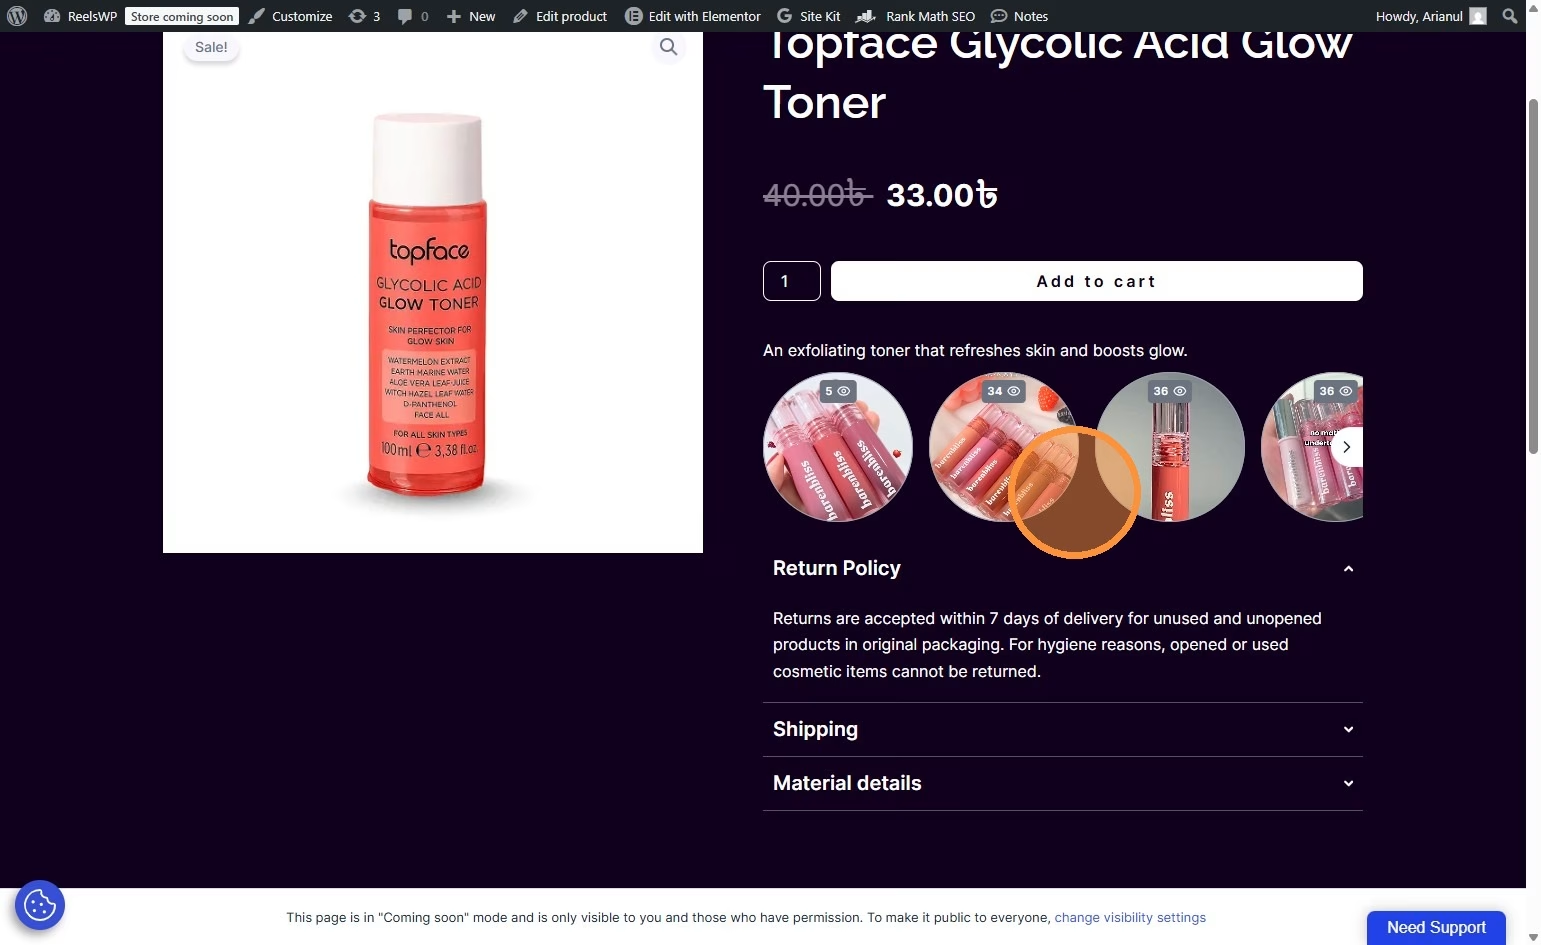
Step 9: Preview and Adjust
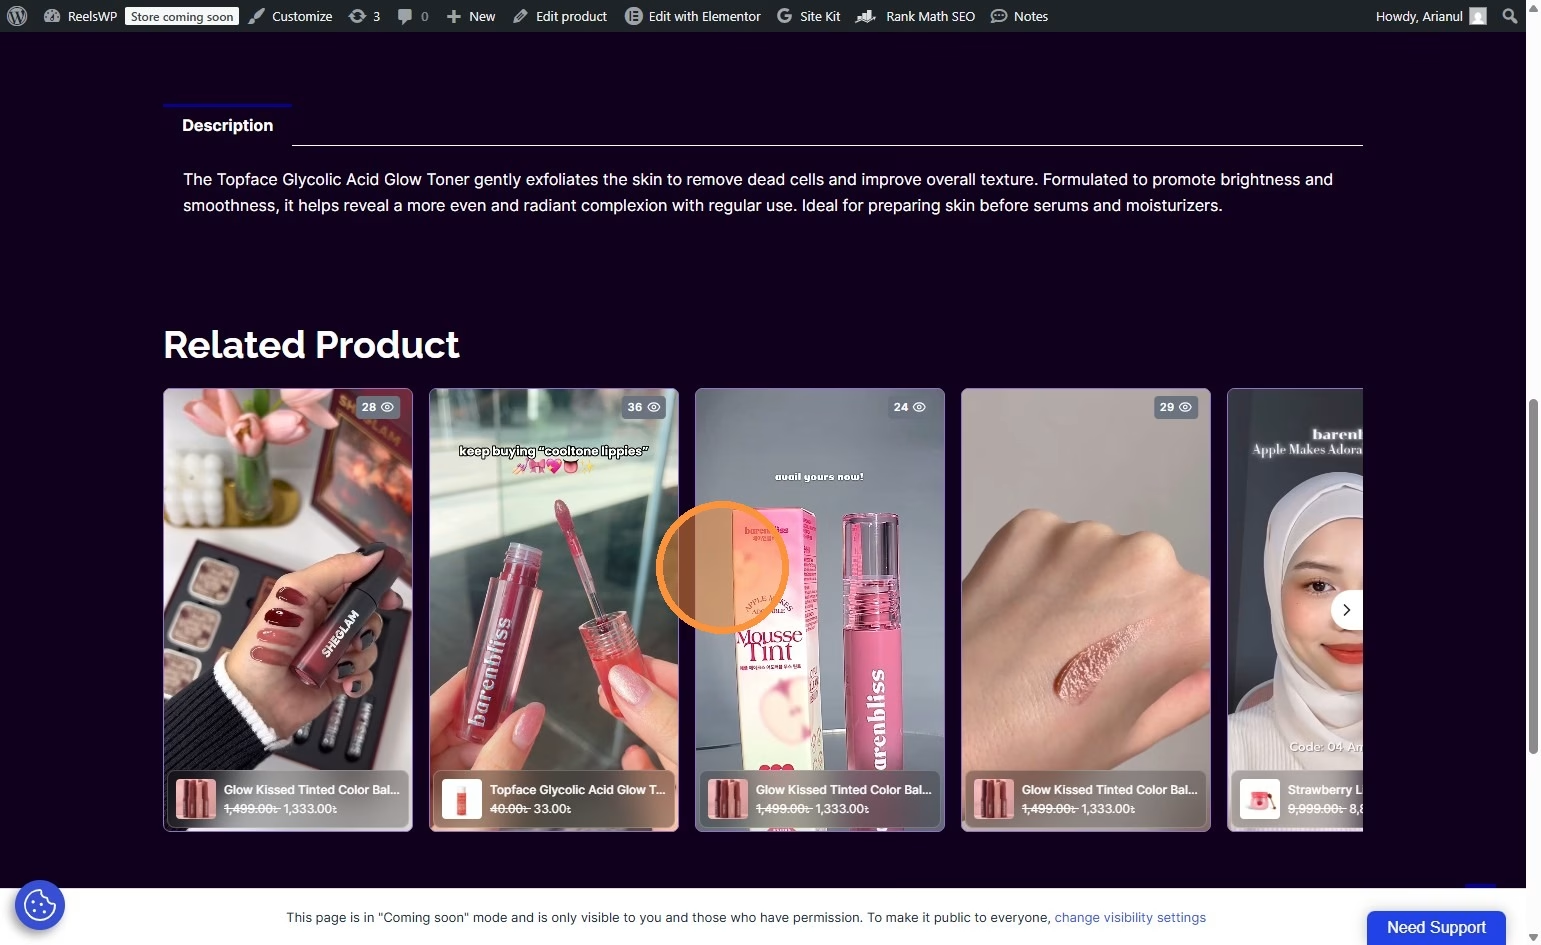
- After publishing, visit the page to preview how your Instagram-style stories look.
- If needed, go back to ReelsWP to make further adjustments, such as changing the layout, adding more videos, or modifying the autoplay settings.
FAQs
1) How do I change the order of the stories in the carousel?
You can adjust the order of the stories by simply reordering the reels in the Manage Widget section of ReelsWP.
2) Can I add links to the stories?
Yes! You can link each story to any page or product on your site by adding a Custom Link during the reel creation process.
3) Why isn’t the story autoplaying?
Make sure that the Autoplay option is enabled in the widget settings. Additionally, check if any browser settings are blocking autoplay features.
4) How can I make the stories look like Instagram?
Ensure that you use the Instagram Stories layout, and set the Shape to Circle to replicate the circular shape of Instagram stories.
5) How do I remove a reel from the widget?
To remove a reel, go back to the Manage Widget page, find the reel you want to remove, and click the Delete button next to it.
6) Can I add Instagram-style stories to my homepage?
Yes, simply paste the shortcode in your homepage content or widget area, depending on where you’d like the stories to appear.
7) How many stories can I add to a widget?
You can add as many stories as you like, though it’s recommended to keep it manageable for user experience. A good starting point is 5 to 10 stories.
8) How can I change the appearance of the stories?
You can modify the appearance in the Customization settings within ReelsWP, such as adjusting the Gap between stories, changing the Shape, and toggling the Show Ratings option.
9) Can I use ReelsWP for other types of videos besides Instagram stories?
Yes, you can create any kind of video showcase, not just Instagram-style stories. Adjust the layout to fit your needs.
If you follow these steps, you should be able to create visually appealing Instagram-style stories on your WordPress website easily!