What is ReelsWP?
ReelsWP is a powerful vertical video player widget that lets you create and display reels, stories, and short-form UGC videos directly on your WordPress website. Short-form vertical videos are dominating digital engagement. Platforms like Instagram Reels and TikTok have proven that vertical content keeps users scrolling longer, increases interaction rates, and boosts conversions. If you want to bring that same high-engagement experience to your WordPress website, ReelsWP makes it simple, fast, and seamless.
In this step-by-step guide, you’ll learn how to:
- Install the ReelsWP plugin
- Upload vertical videos
- Customize your reels widget
- Add the reels to any WordPress page using shortcode or block editor
Requirements
- WordPress site with admin access
- A ZIP file for ReelsWP Pro (only if you purchased Pro)
Step 1: Install the ReelsWP Plugin
- First, log in to your WordPress Dashboard.
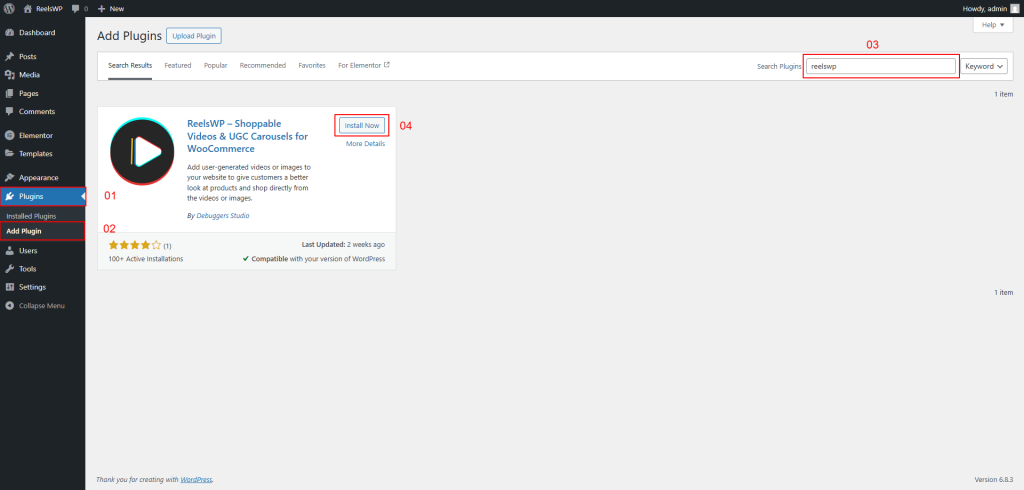
- Navigate to Plugins → Add Plugin
- In the search field, type “ReelsWP”
- Click Install Now
- After installation, click Activate
- Once activated, you’ll see ReelsWP added to your WordPress sidebar menu.
Wait for the installation to finish, then click Activate. The plugin will now be ready to use on your website.

Use this method for the free version available on WordPress.org.
Pro installation Guideline – Upload a ZIP from Your Computer
- Log in to Our CRM using our given credentials and Download the Latest version ReelsWP Pro.
- Now Login to your wordpress dashboar and Go to Plugins → Add New Plugin.
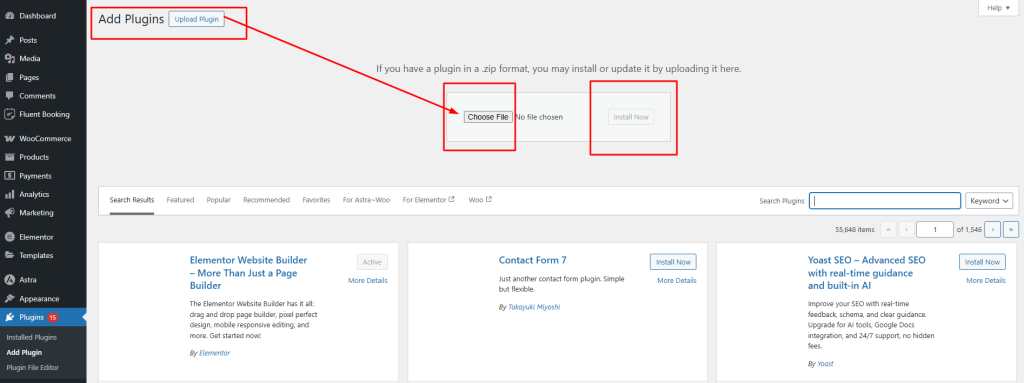
- Click Upload Plugin.
- Choose the download file “ecomm-reels-pro.zip” (or provided ZIP) and click Install Now.
- Click Activate.
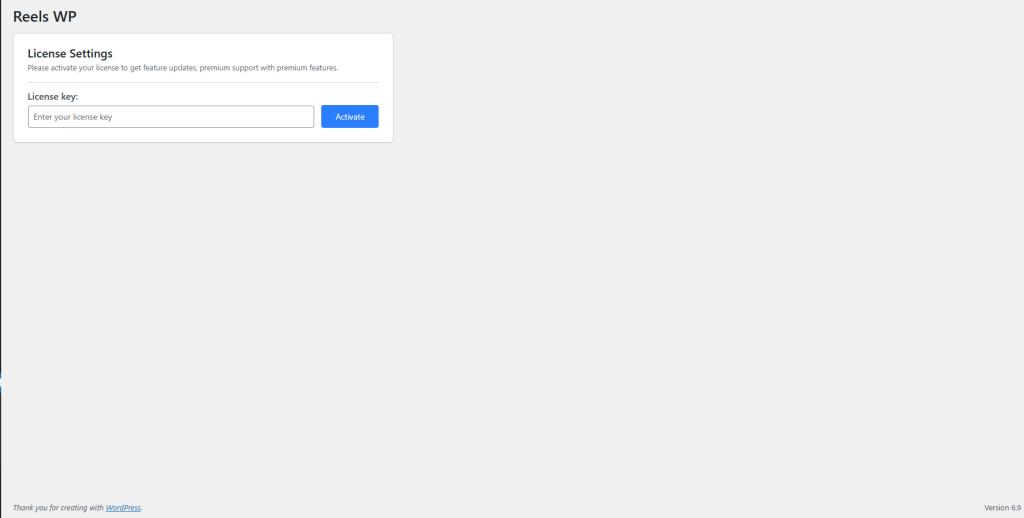
Activate License Key
From the ReelsWP menu, click the License sub-menu. Enter your license key(received after purchasing the product via email or copy from the CRM), then click Activate. Once activated, all Pro features will be unlocked.
If you are facing any issues with license activation, please contact us at [email protected].
After successfully activating your license, you can start adding videos and create your reels.
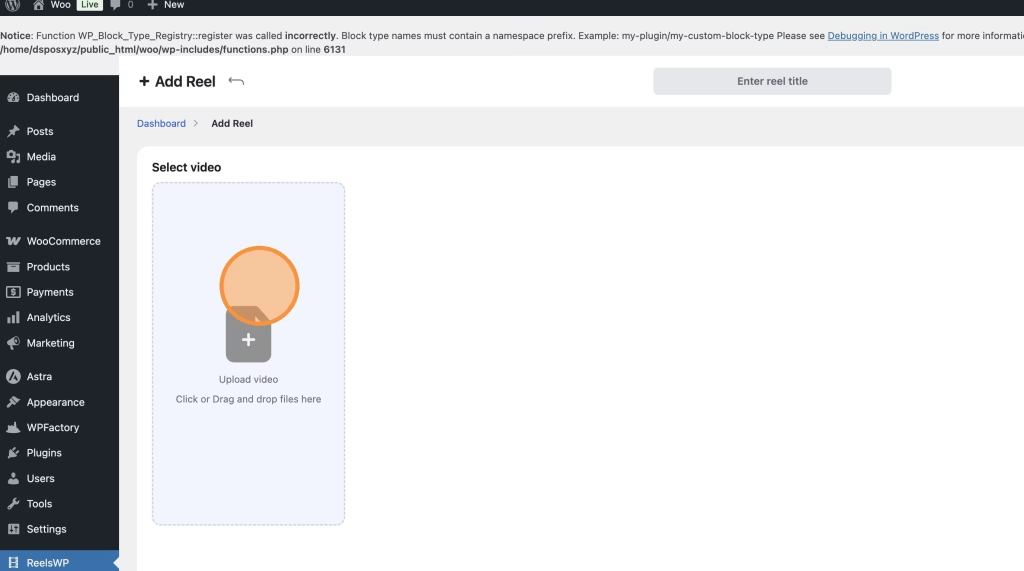
Step 2: Add a New Reel (Upload Vertical Video)
Now it’s time to upload your first video.
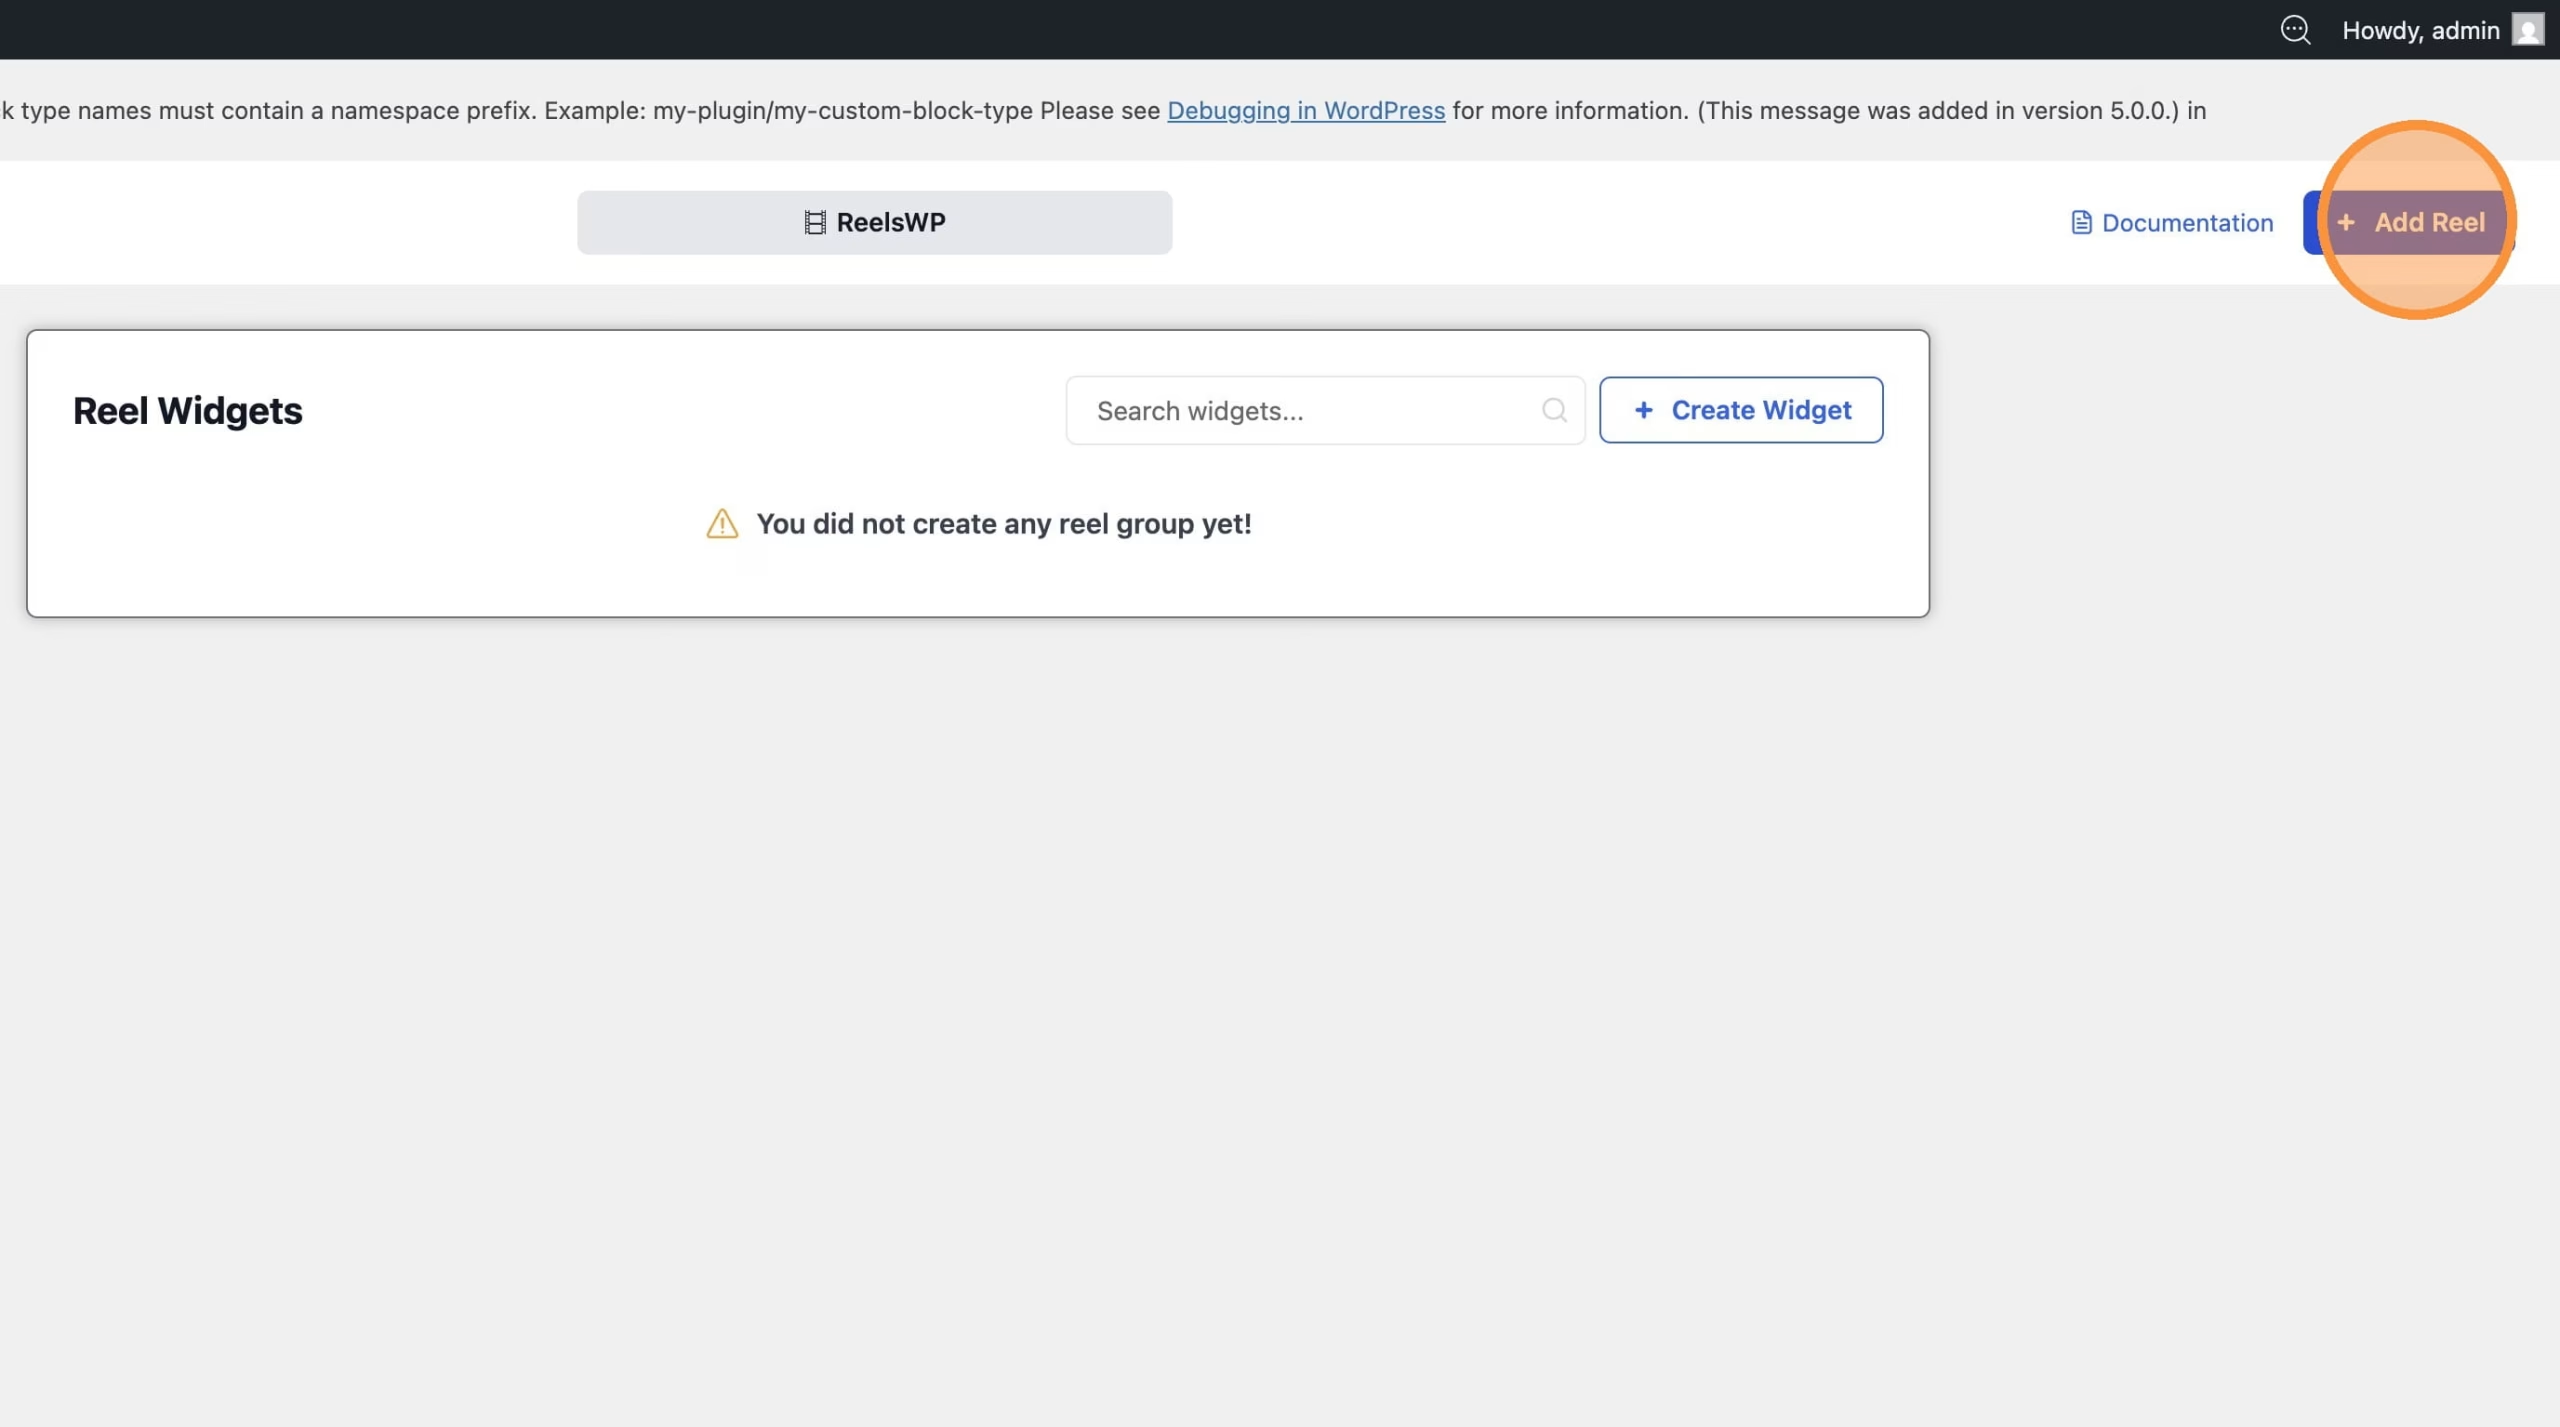
Click ReelsWP from the left sidebar and Click Add Reel
Click Upload Video or select from your media
On the right panel, click Upload Image to set video Thumbnail image
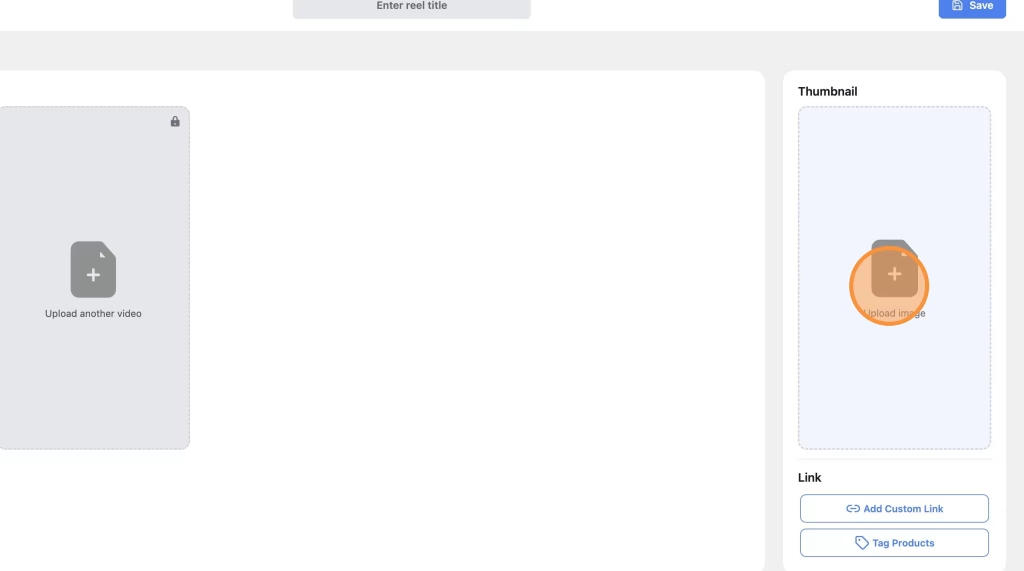
Select or upload your thumbnail image and set it and Click Save
Step 3: Create a Widget with already uploaded video reels
Go Back and Click on Create a Widget
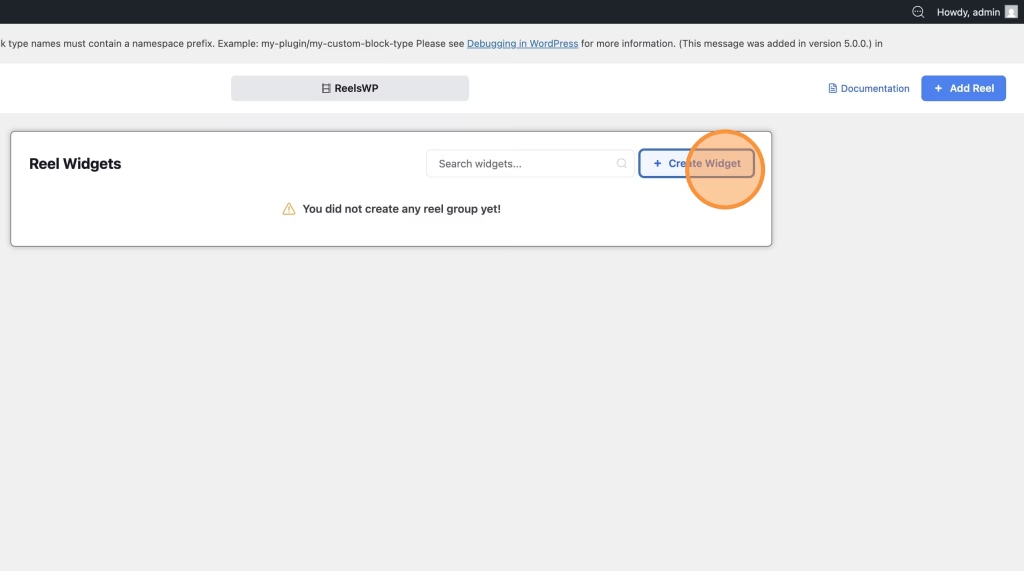
Then from All reels select all the videos you want to combine and create reels grid or carousels or marquee or stacked widgets as per your need.
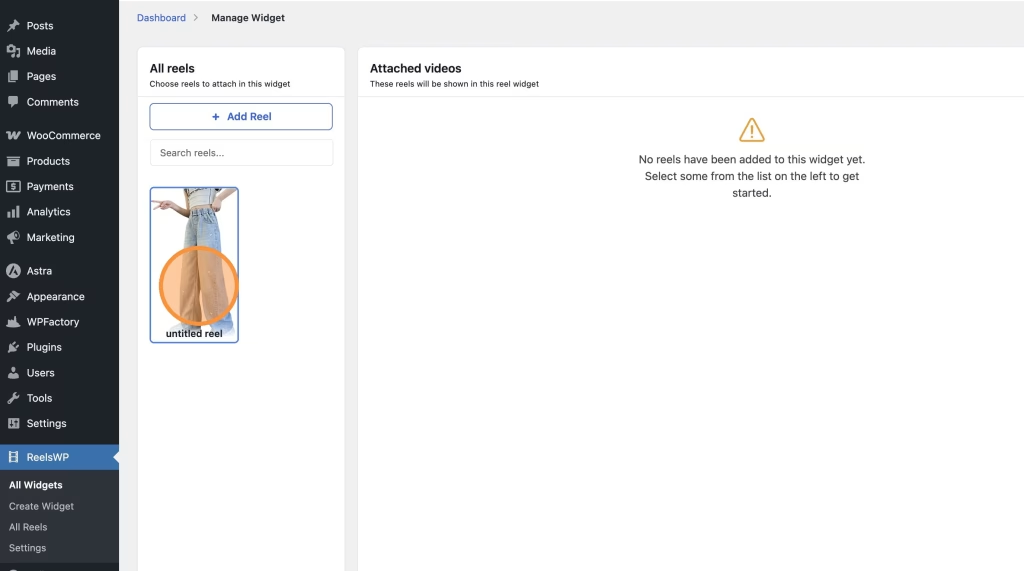
After adding the videos to the group, click Save. Once saved, the system will automatically generate a shortcode for you.
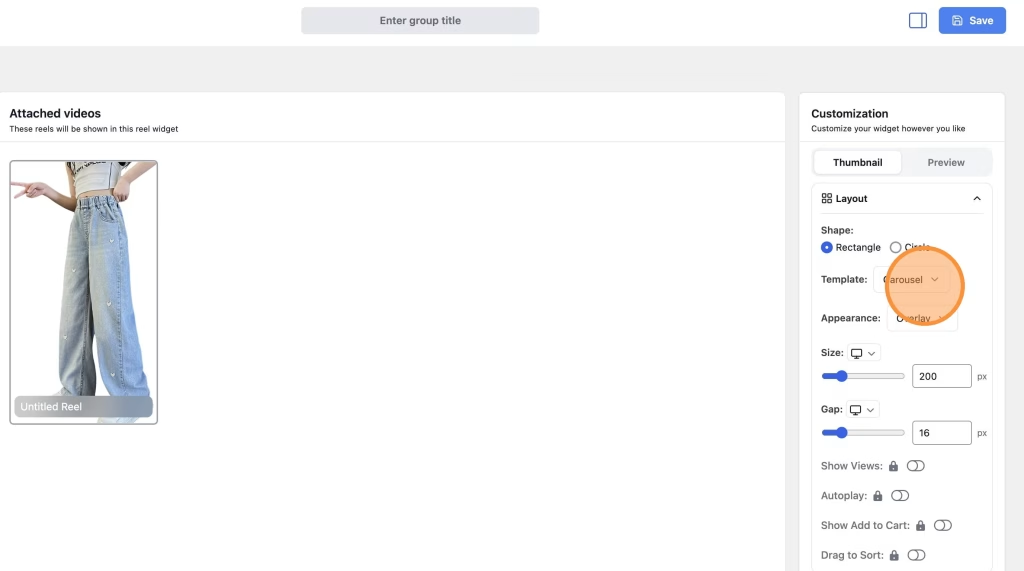
Step 4: Customize Your Reels Widget
ReelsWP allows deep customization.
From the left customization panel, you can:
- Choose layout style
- Select template design
- Customize appearance
- Adjust direction and preview behavior
- Enable or disable autoplay
- Set animation preferences
- Enabled video autoplay, or on hover
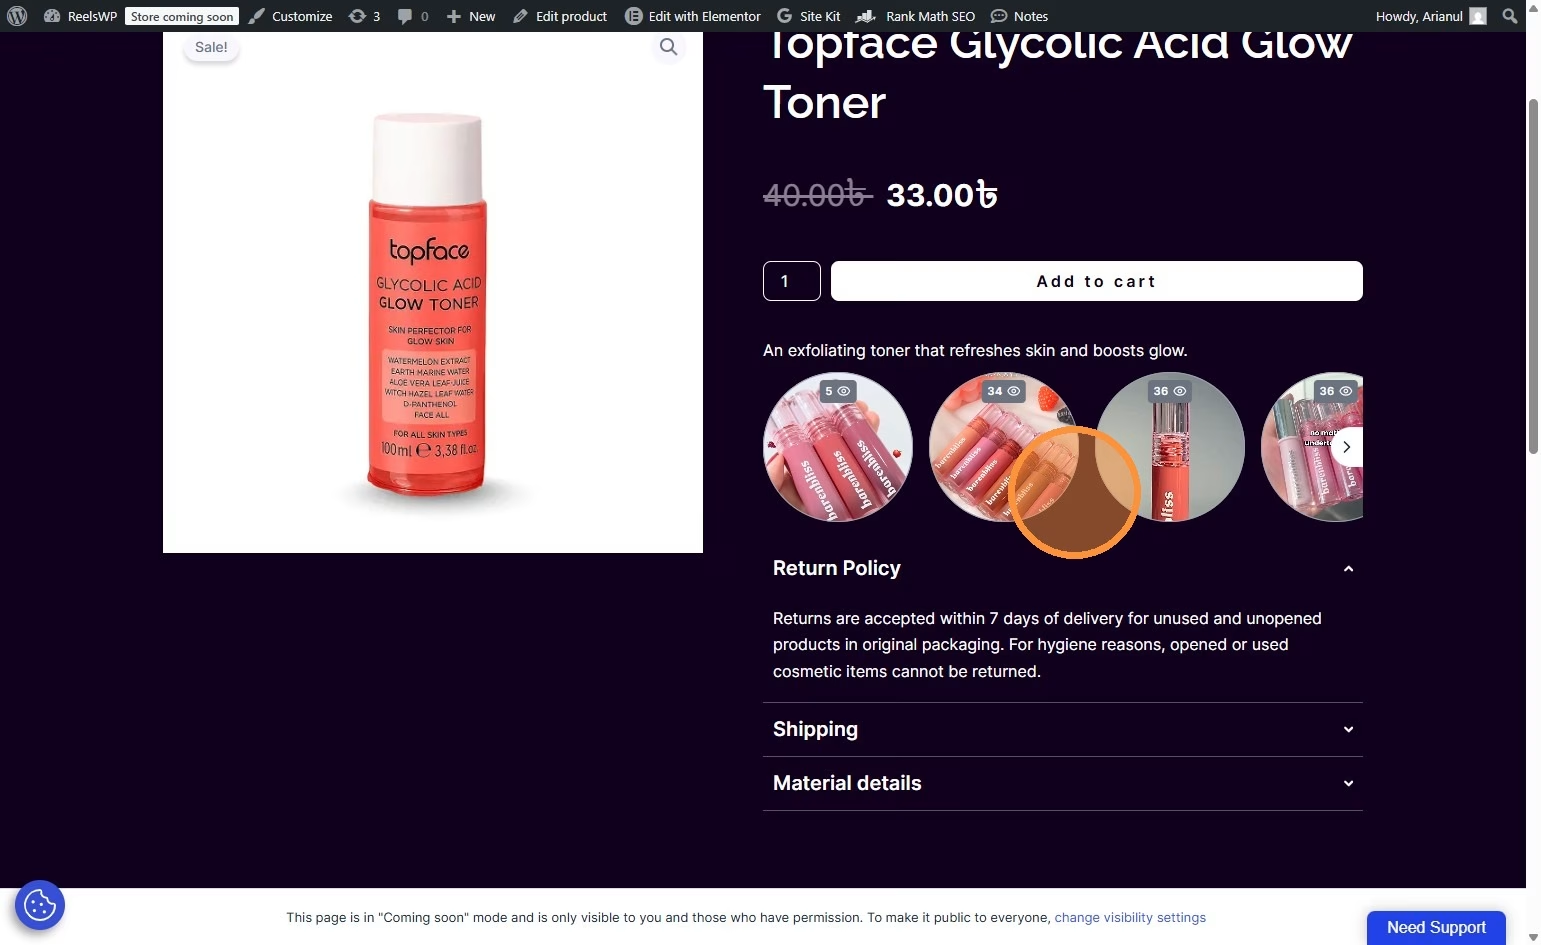
You can also preview how your reels will appear when clicked using the Preview Tab.
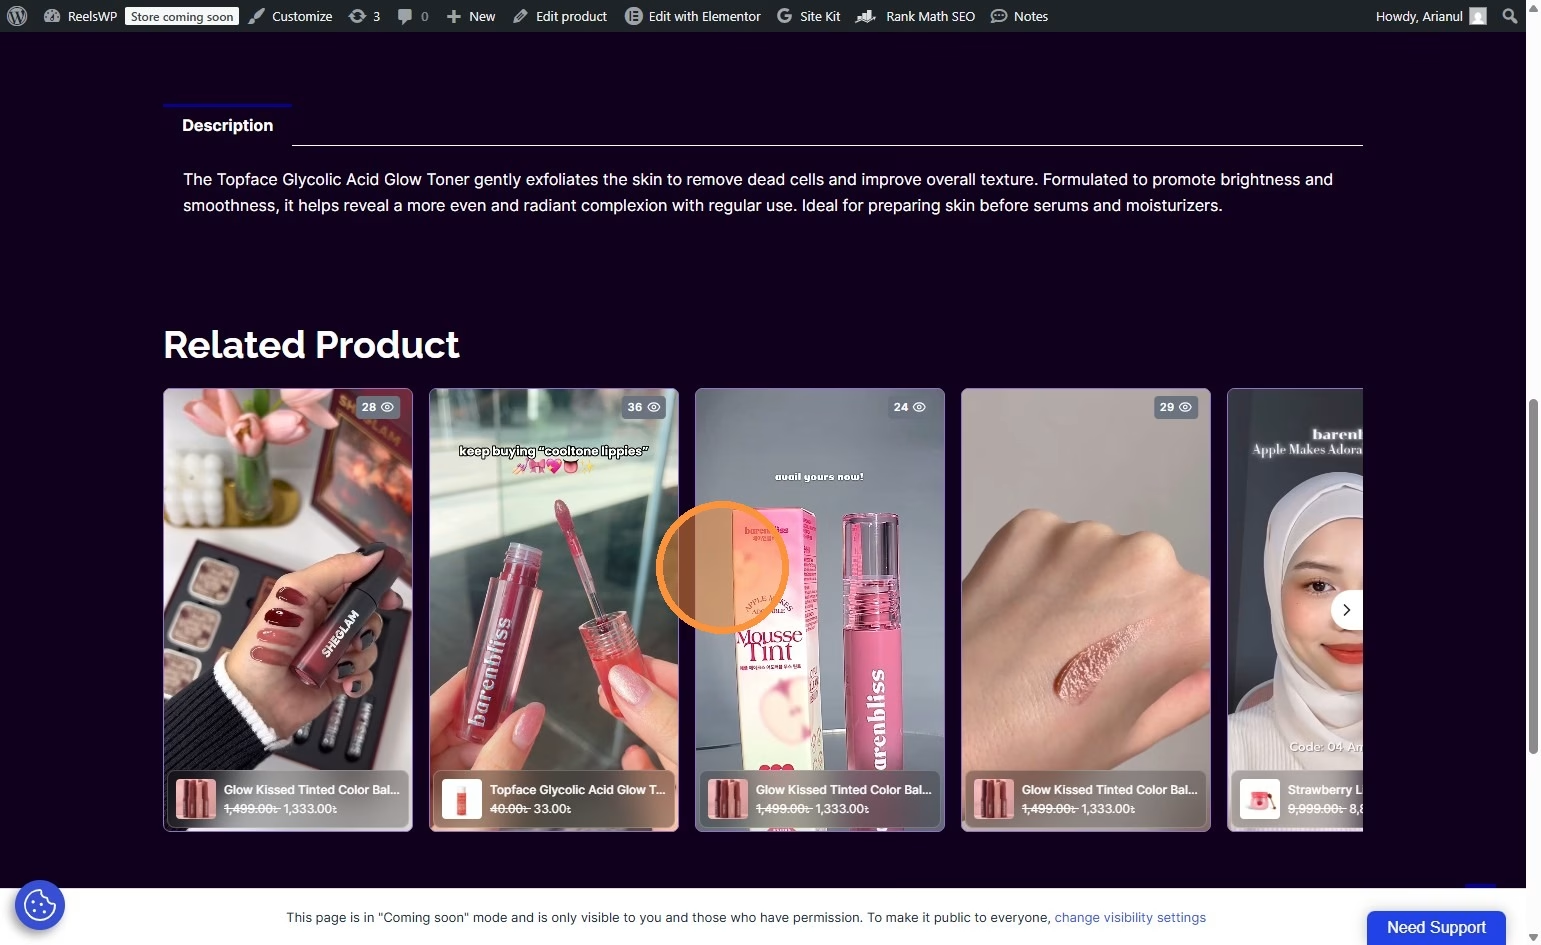
Step 5: Add Reels to a WordPress Page
You can copy the shortcode and paste it anywhere on your website to display the reels.
After that, you have three options depending on the theme or page builder you are using.
Option A: Using Shortcode
- Go to Pages → Add New (or edit existing page)
- Paste the shortcode where you want the reels to appear
- Click Save / Publish

Option B: Using Block Editor (For Block Themes)
If you’re using a block-based theme:
- Click the + icon
- Search for ReelsWP block
- Select the block widget
- Choose your widget from the dropdown
- Click Save
Option C: Using Elementor (ReelsWP Elementor Widget)
If you’re using Elementor Page Builder, you can use the built-in ReelsWP Elementor widget for an even easier setup:
- Open the page and click Edit with Elementor
- Search for ReelsWP in the Elementor widget panel
- Drag and drop the ReelsWP widget into your desired section
- Select the reels group you want to display from the dropdown
- Click Update or Publish
That’s it! Your selected reels group will now be displayed seamlessly within your Elementor layout.
Best Practices
- Convert videos to WebM format before uploading (avoid using raw MP4 files directly).
- Use an online MP4 to WebM converter for better web optimization.
- Compress videos as much as possible without noticeable quality loss.
- Keep video file sizes small to avoid impacting website speed.
- Do not add more than 12 videos on a single page.
- Split reels across multiple pages if you have many videos.
- Keep ReelsWP and all other plugins updated to avoid conflicts and performance issue
Frequently Asked Questions (FAQ)
What kind of videos can I upload?
You can upload:
- Short-form video optimized for mobile viewing.
- Self-hosted vertical videos
- Embed videos from vimeo
MP4 format videos
Q: Can I use the ReelsWP plugin with any WordPress theme or page builder?
Absolutely. ReelsWP works with: Any theme using shortcodes.
You can generate a shortcode and paste it anywhere on your website.
- Classic Editor
- Block Editor (Gutenberg)
- Elementor page builder.
Q: Can I group multiple videos together?
Yes. You can create a Reels Group, add multiple videos inside it, and display them as a scrollable video carousel or marquee section.